General
Start the GUI Builder from the Administration Console via the Masks / Edit Masks area by selecting the desired mask and pressing the Edit button. This is a tool used to customize or extend the graphical user interface of the software without the need for programming knowledge or a development environment.
This entry is recommended when creating new masks for additional entities and for post-processing existing masks.
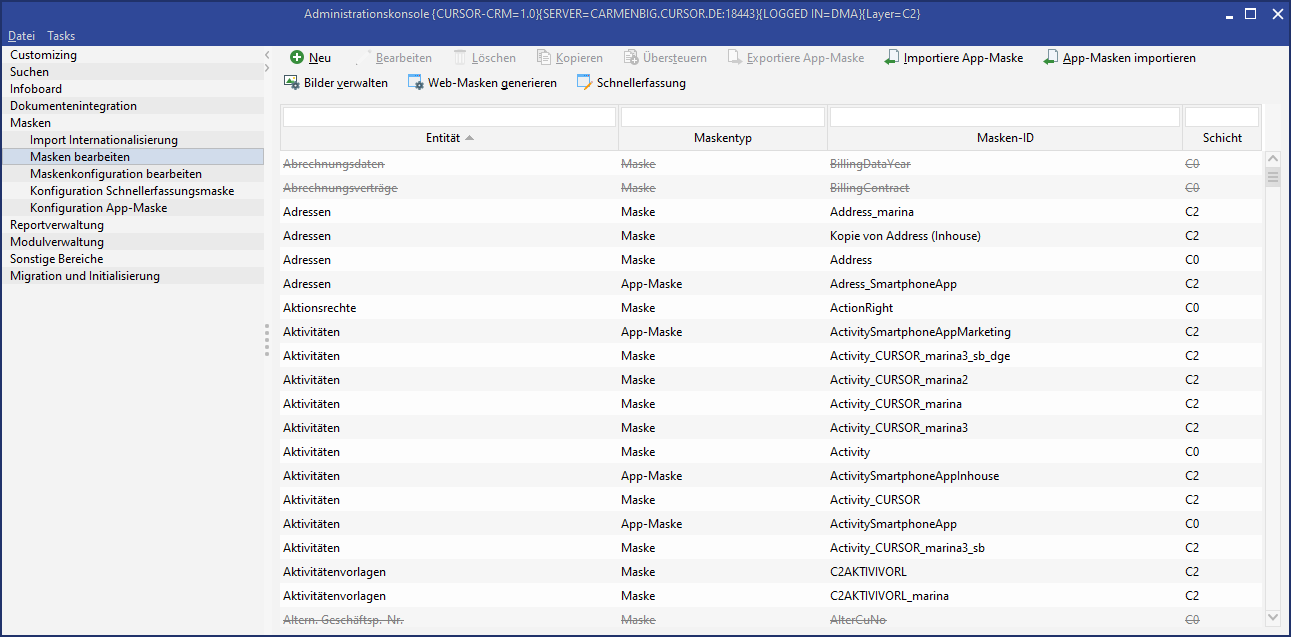
Figure: 'Edit Masks' node in the Administration Console
Alternatively, you can access the GUI Builder:
-
via the Administration / GUI Builder menu in any main mask. This access is recommended for editing existing masks.
-
from the Administration Console via the Customizing / Import/Export of customizing / Mask configuration by selecting an entity and clicking the Edit button.
This entry is recommended when creating new masks for additional entities.
The functionalities of the GUI Builder have been described in detail in the GUI Builder chapter.
Mask management
Since the mask design can be adapted to the needs of the system owner, routines have been developed to test and implement changes quickly and efficiently.
|
New |
This button allows you to create a new mask. You must assign an entity and an ID to the new mask. Hint Note that a newly created mask does not contain any fields. You need to completely redesign the mask. If you make minor changes or adjustments, we recommend that you copy an existing default mask ( |
|---|---|
|
Edit |
Starts the GUI Builder |
|
Delete |
If you want to delete a mask, select it from the list and click the Delete button.
|
|
Copy |
You can copy an existing mask and save it under a new name. In doing so, you have created a "template" for further adjustments. |
|
Export |
Using the Export button, the marked mask dataset is exported and saved as a .mask file. |
|
Import |
The Import button imports a mask dataset from a .mask file. |
|
Default Import |
This functionality is only relevant if errors occurred during migration or during the update. Here, default masks are imported again. |
|
Import app masks |
Imports the default app masks for all available entities |
|
Manage images |
Opens the image management. The images are stored in a folder structure according to the following scheme:
|
|
Generate web masks |
Generates the web masks. |
|
Quick Entry |
Jump to node Quick entry mask configuration. |
There are two ways to export/import masks:
In the Administration Console:
Button Export / Import.
Here you export / import mask datasets
In the GUI Builder:
Save as file / Load from file buttons
Here you export / import mask objects
The most important difference between mask datasets and mask objects is that the mask datasets contain additional information (such as mask IDs), whereas mask objects only influence the design. Mask datasets can only be exported/imported if they are two identical system versions (e.g. test version = productive version). The same mask objects can be used in different versions (e.g. in CURSOR-CRM AND EVI). In this case, you must use the GUI Builder to export/import.