In this section, the configuration of Microsoft Active Directory Federation Services (ADFS) for using SAML 2.0 with CURSOR-CRM is demonstrated as an example. For productive operation, however, the responsible ADFS administrator should always be consulted first for configuration.
Step by step instructions
-
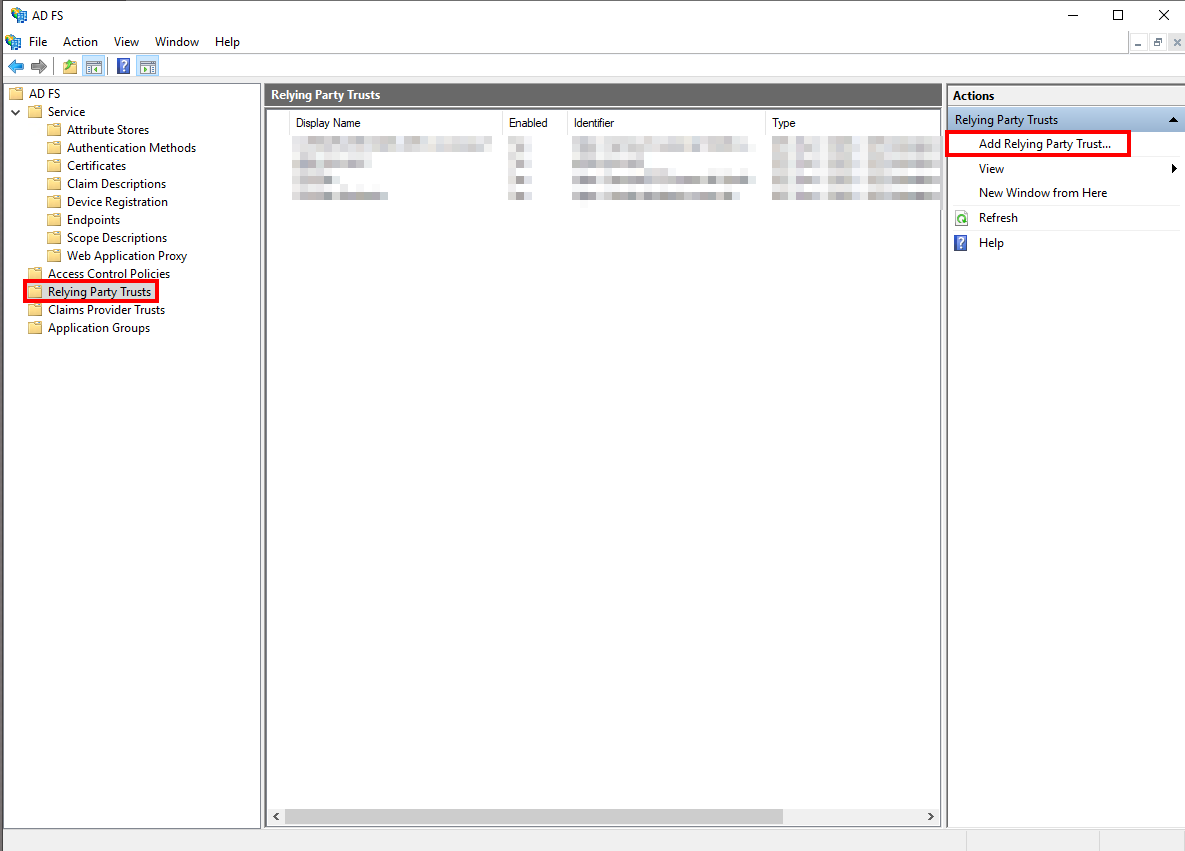
In the ADFS Management Console, open the "Relying Party Trusts" section and select "Add Relying Party Trust..." from the pull-down menu on the right.
-
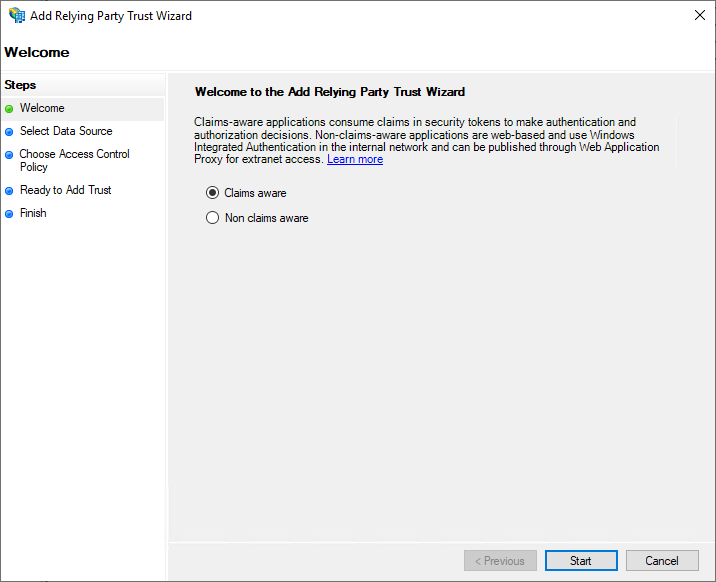
Now the "Add Relying Party Trust Wizard" appears. On the "Welcome" page, you can select here that the new service provider is "Claims aware".
-
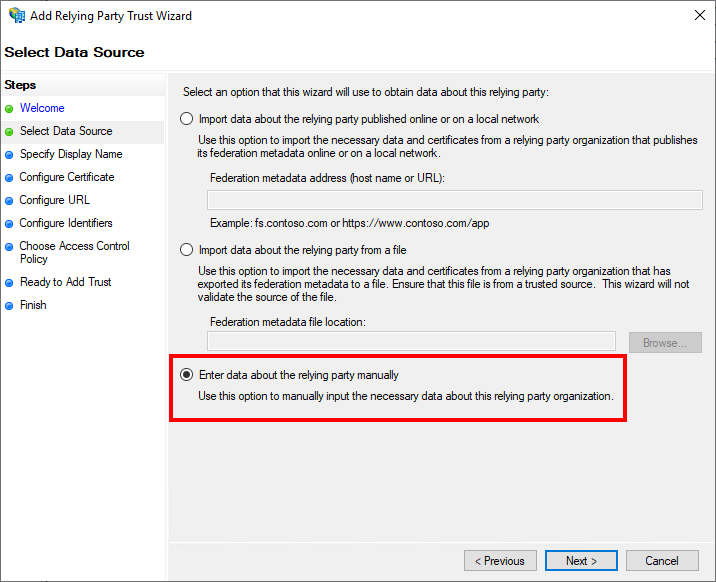
On the "Select Data Source" page, "Enter data about the relying party manually" must be selected.
-
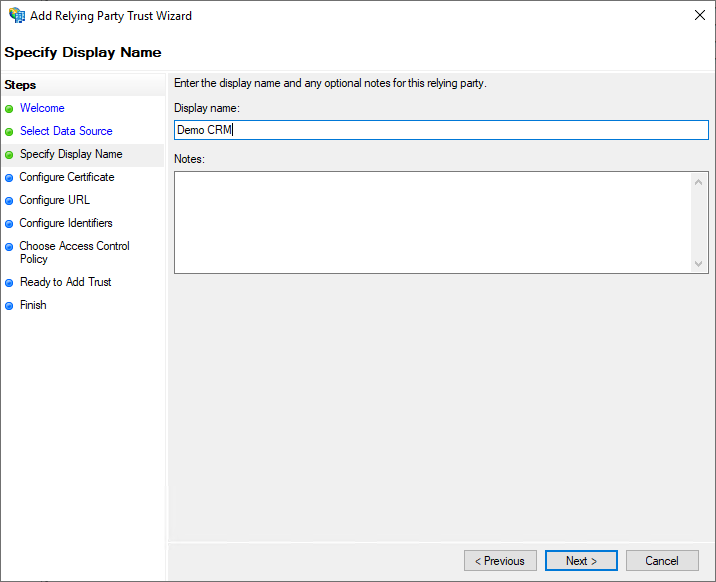
On the "Specify Display Name" page the display name for the service provider can be entered in ADFS. This is freely selectable, but should be chosen so that the administrator can recognize the system. In this example "Demo CRM" was entered.
-
The page "Configure Certificate" deals with token encryption and can be skipped.

-
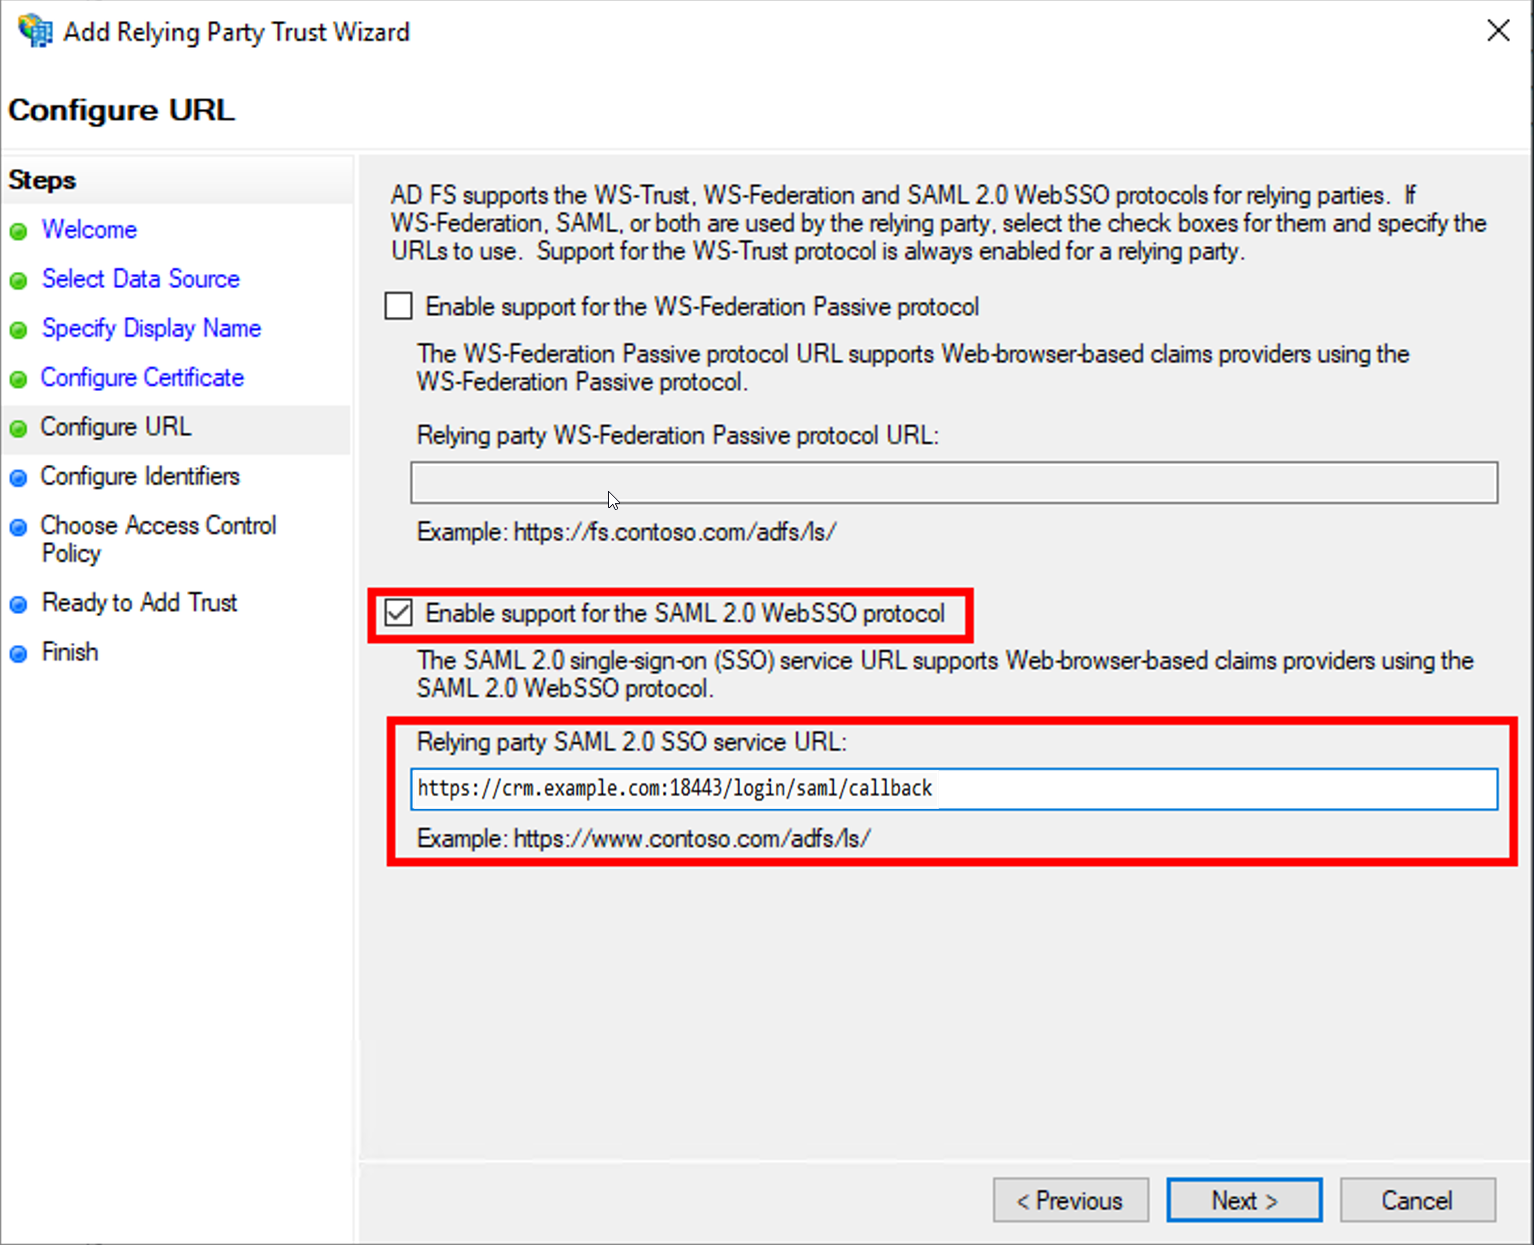
On the "Configure URL" page, the option "Enable support for the SAML 2.0 WebSSO protocol" must first be activated. Additionally, the SSO service URL must be filled correctly. Here the path
/login/saml/callbackon the JBoss server must be specified, for examplehttps://crm.example.com:18443/login/saml/callback
-
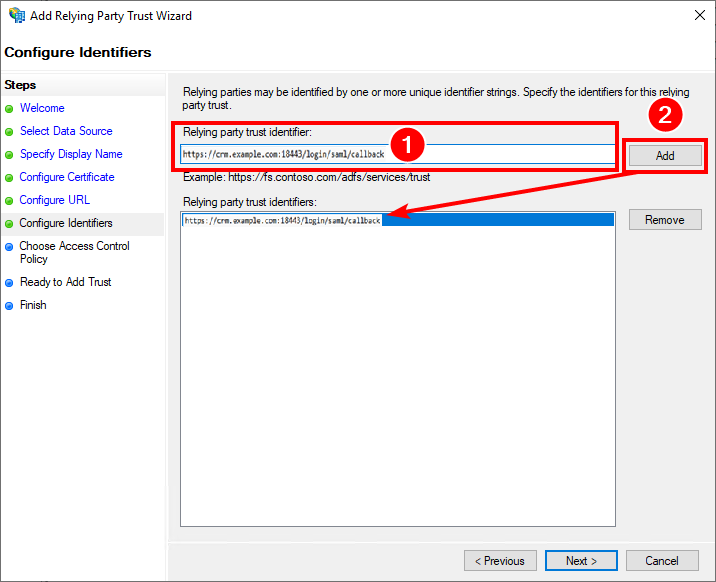
On the "Configure Identifiers" page the "Relying party trust identifier" must be entered and confirmed by clicking "Add". The correct value here is the path
/loginon the JBoss server, for examplehttps://crm.example.com:18443/login/saml/callback
-
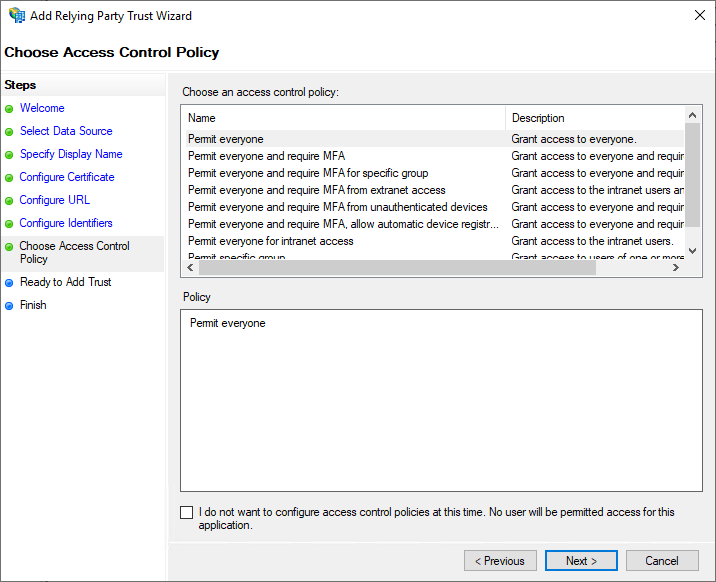
On the "Choose Access Control Policy" page the ADFS administrator can configure additional access control policies. However, these are not necessary.
-
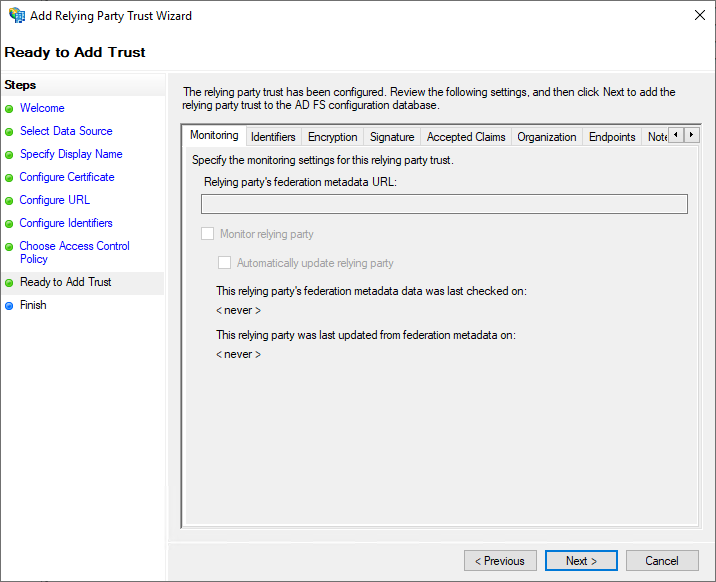
Additional settings can be changed on the "Ready to Add" page. However, this is not necessary.
-
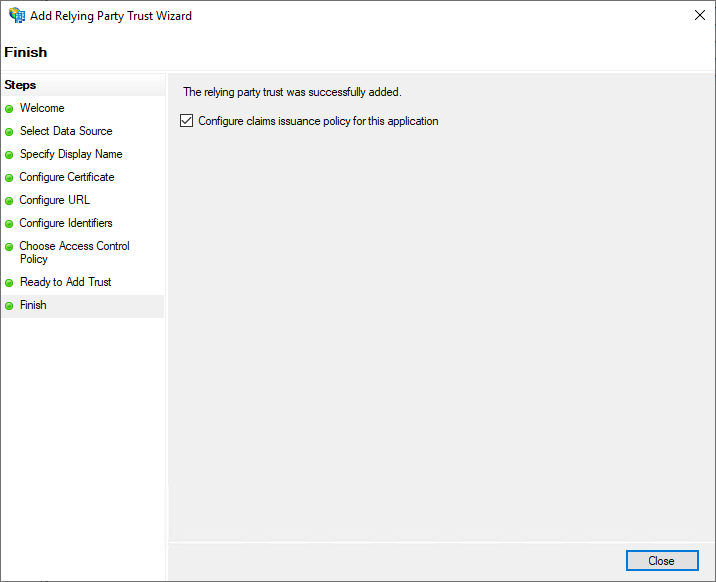
The "Finish" page shows the completion of the wizard. The option "Configure claim issuance policy for this application" must be set, since this must also be configured subsequently.
-
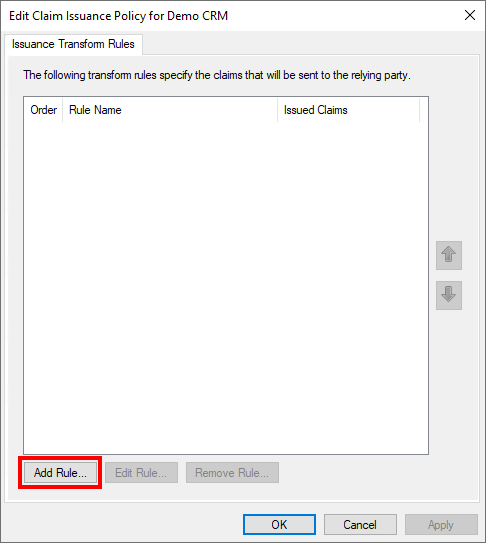
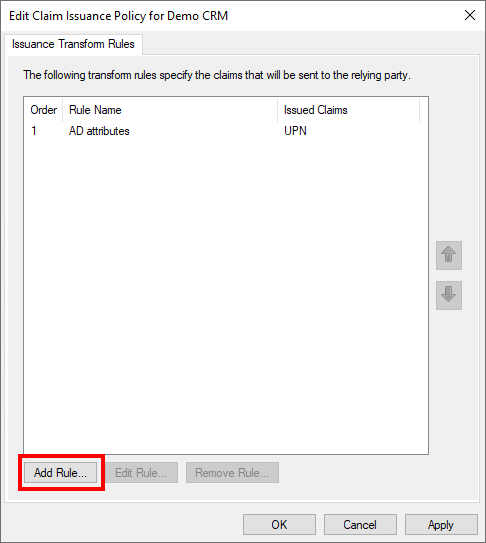
Now the "Edit Claims Issuance Policy" dialog opens. In this, "Add Rule..." must be selected to create a new rule.
-
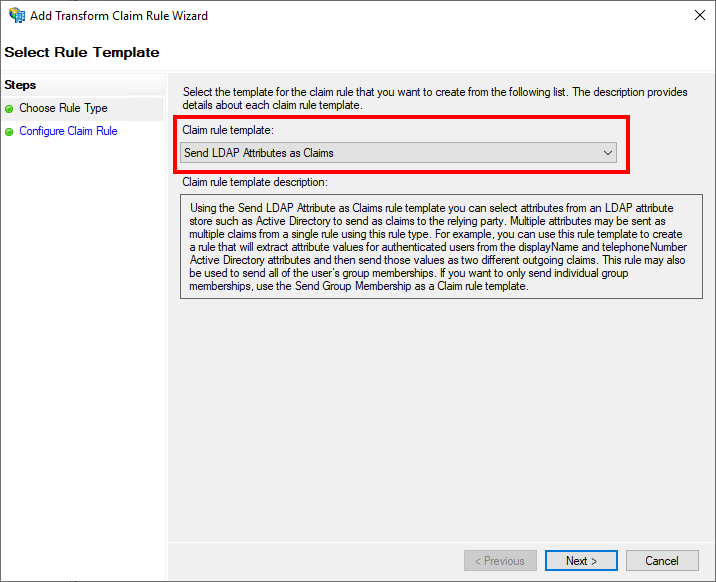
In the now opened wizard, "Send LDAP Attributes as Claims" must be selected on the initial page "Choose Rule Type" as "Claim rule template".
-
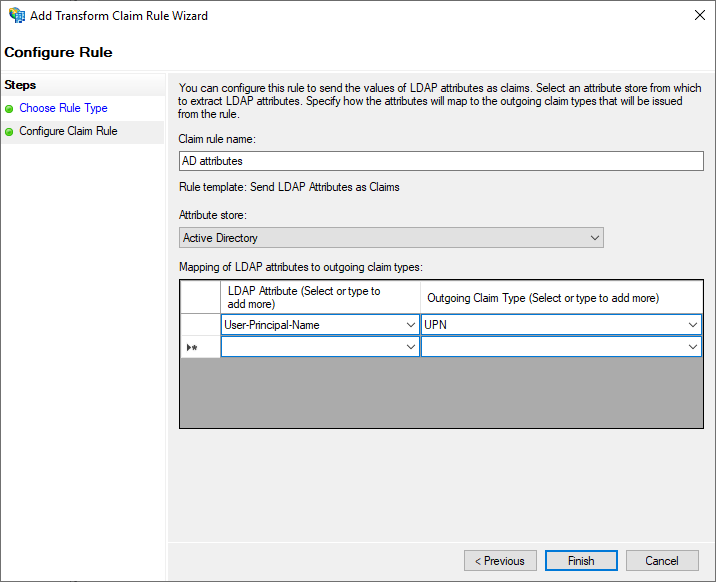
On the "Configure Claim Rule" page, a "Claim rule name" must first be set. This is freely selectable by the administrator. Furthermore, an "Attribute Store" must be selected here from which the information is to be obtained. Usually "Active Directory" is the desired value here.
In addition, the LDAP attribute can be selected here, which will later be used as NameID. In the example here, the "User Principal Name" has been selected, which is mapped to the claim type "UPN". In principle, the attribute is freely selectable, but care must be taken to ensure that this attribute uniquely identifies all users and does not change.
-
Now another rule must be created. The "Add Rule..." button is used again for this.
-
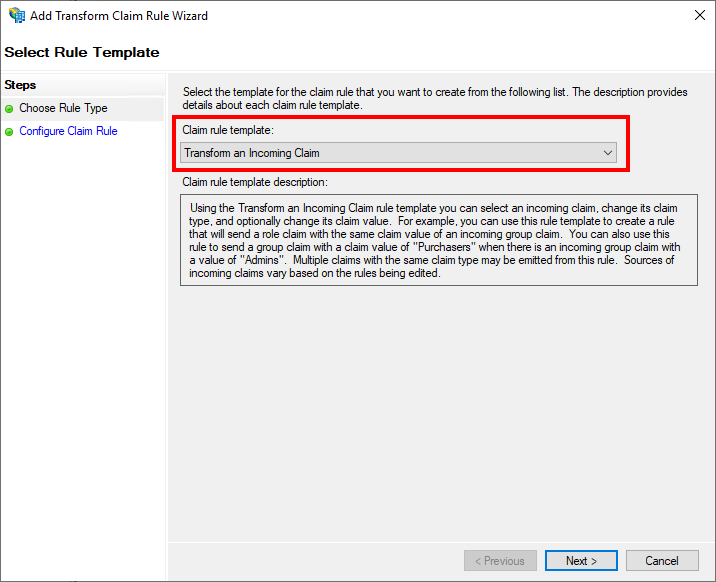
In the now opened wizard, on the initial page "Choose Rule Type" as "Claim rule template", this time "Transform an Incoming Claim" must be selected.
-
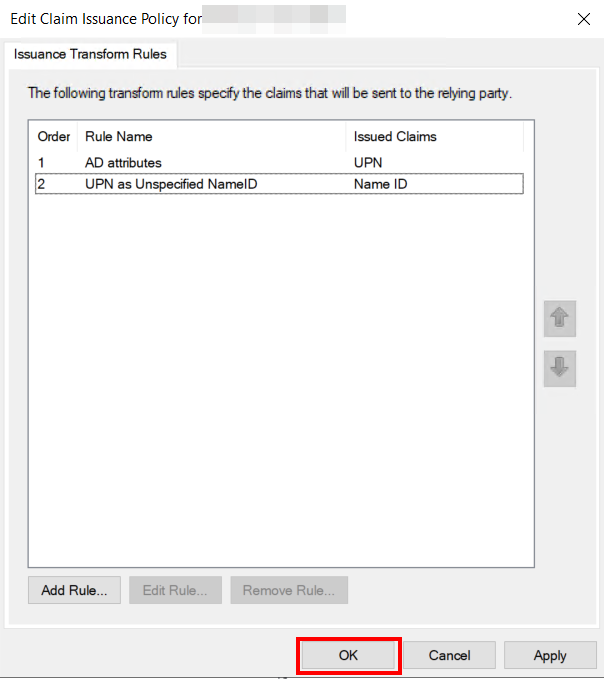
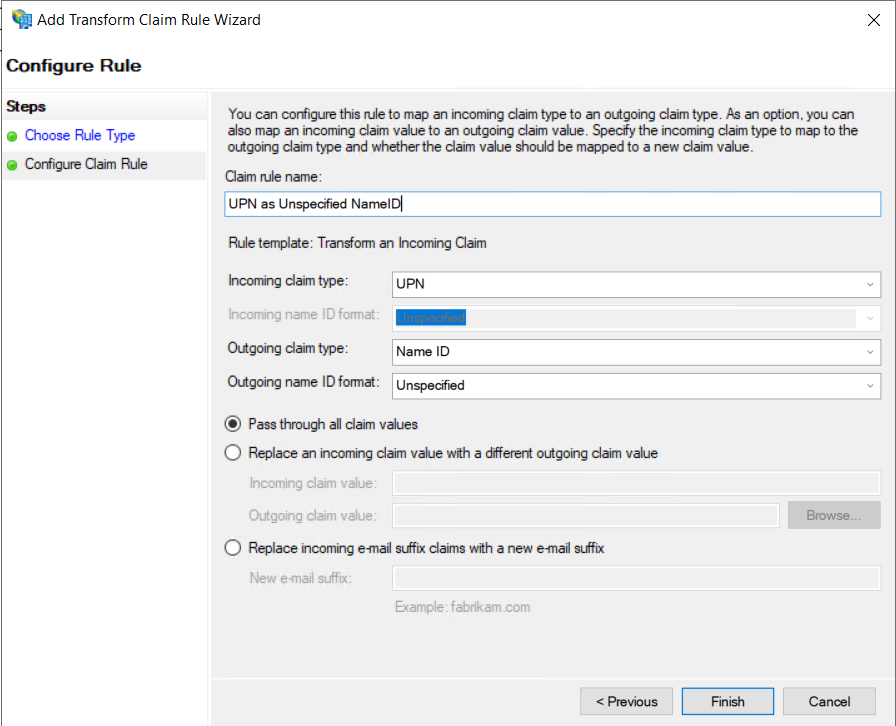
On the "Configure Claim Rule" page, you can again assign a freely selectable name for the rule. In addition, the claim type selected in step 13 must be selected as "Incoming claim type", in this example "UPN". In addition, the value "Name ID" must be entered as the "Outgoing claim type" and the value "Unspecified" as the "Outgoing name ID format". Then the wizard can be ended with "Finish".
-
The configuration is now completed, the still open dialog can be confirmed with "OK".