Basics
Mass data serial letter (>100.000) are single documents created out of the CRM-system. Through an assistant the user can configure the actions to be made, like for example selection, activity generation, document generation or document export and send them to the application server as task. The actual implementation is made on the application server (preferably mass data server). The actions can be sent by the Client bundled or individually to the application server. Once an action has been sent to the server, the assistant is closed - the user can go on with his / her work in the system. As soon as the action is completed on the application server, the user receives a message through the task list and can open the assistant and proceed with the serial letter procedure.
This interplay between Client and server goes on that way until the user has exported the documents. With the export of the documents to a defined transfer directory on the application server, the serial letter action can be quit by the user. The documents from the transfer directory can now be transmitted to a print service for example.
Significant characteristics of mass data serial letter
-
Selection of any data volume
-
Supports table display in documents (e.g. positions)
-
Sorting of the selection result according to numerous criteria (e.g. ZIP code, company name)
You can also sort the results in the table output. -
Selection of document output format
The following formats are available:-
pdf
-
doc
-
docx
-
-
Generation of test documents for verification of generated documents
-
Generation of individual protocol- and reminder activities
-
Generation of individual documents
-
Export of generated documents to transfer directory
Pre-conditions
The functionality Serial letter (mass data) is optional and not part of the standard. The following two modules are required:
-
Mass data server
-
Serial letter server
When the modules are imported, the menu item is visible under Marketing / Serial letter (mass data). CURSOR Software AG also provides a set of patterns.
The memory directory has been configured by your administrator. For that directory you also need reading rights. Ask for the path before you start to create the documents.
Compared to the "classical" serial letter:
-
the document template does not need to be edited in the assistant
-
there's no preview of the recipients
-
addressees are not changed manually
-
Restrictions for use of description of lookup fields
-
no support of description on lookup fields on entities
-
no internationalized description texts for lookup fields of key table
-
-
In mapping a field can only be used once
Procedure
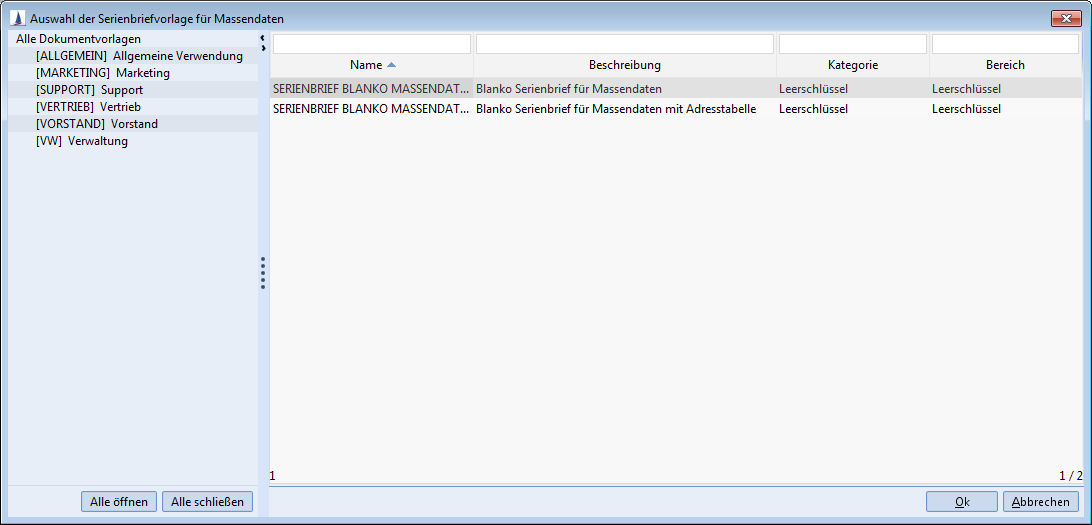
Click the menu item Marketing / Serial letter (mass data) to start the serial letter creation. The template selection dialog opens.
The assistant and the menu bar guides you through the complete serial letter process.
Template selection
How to select a template:
-
In the menu click Marketing / Serial letter (mass data).
-
Select a template.
-
Click OK.
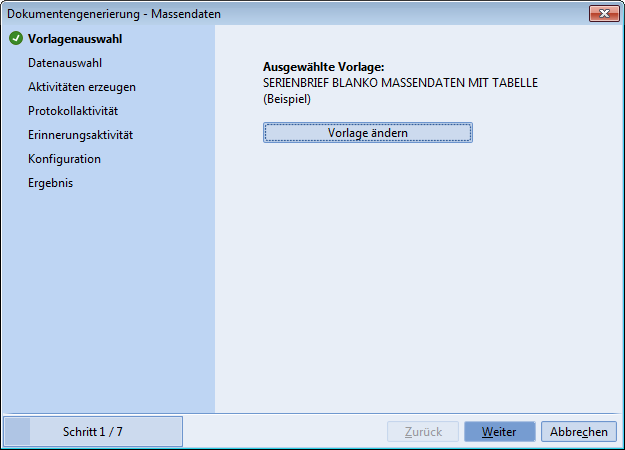
Once a template has been selected it is displayed in the wizard dialog. With the button Change template you have the option to return to the template selection.
Once a search has been conducted once, the template cannot be changed any more. Image:
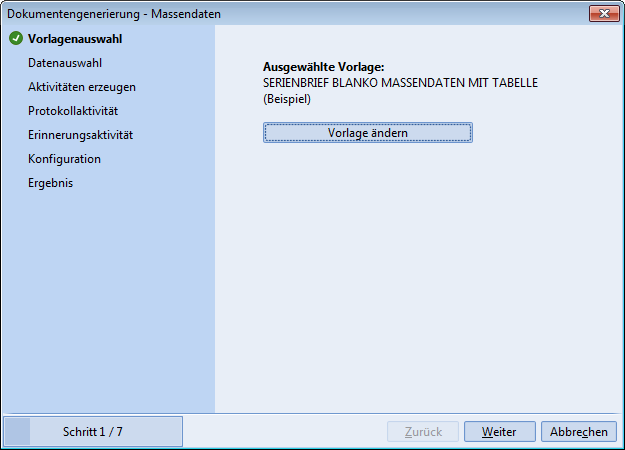
When the correct template is selected, click Next.
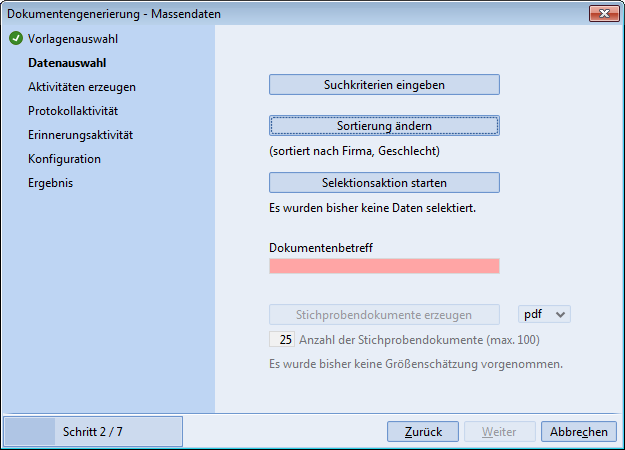
Data selection
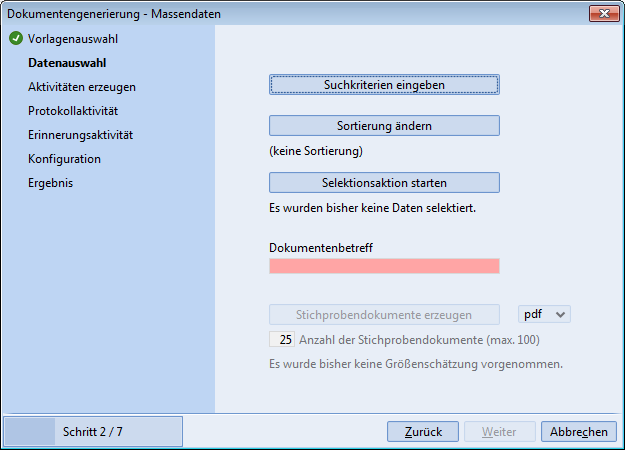
The step Data selection is used to generate the number of selection results.
The following functionalities are available:
-
Search criteria input
-
Single data sorting
-
Conducting a search
-
Control sample documentation for verification of created documents
-
Document subject input
Edit search criteria
How to configure the search:
-
Click Edit search criteria. The search dialog opens.
-
Enter the search criteria.
-
Click

Apply and close. The search configuration is saved temporarily.
OR
Click also
Cancel to abort search criteria input.
In contrast to Search, which you configure in CRM and conduct immediately with Adopt, there is no search conducted at this point. Only the command is configured for the application server. Just once the button 'Start selection criteria' on part of the wizard's side, the search and other parameters are transmitted to the application server for processing.
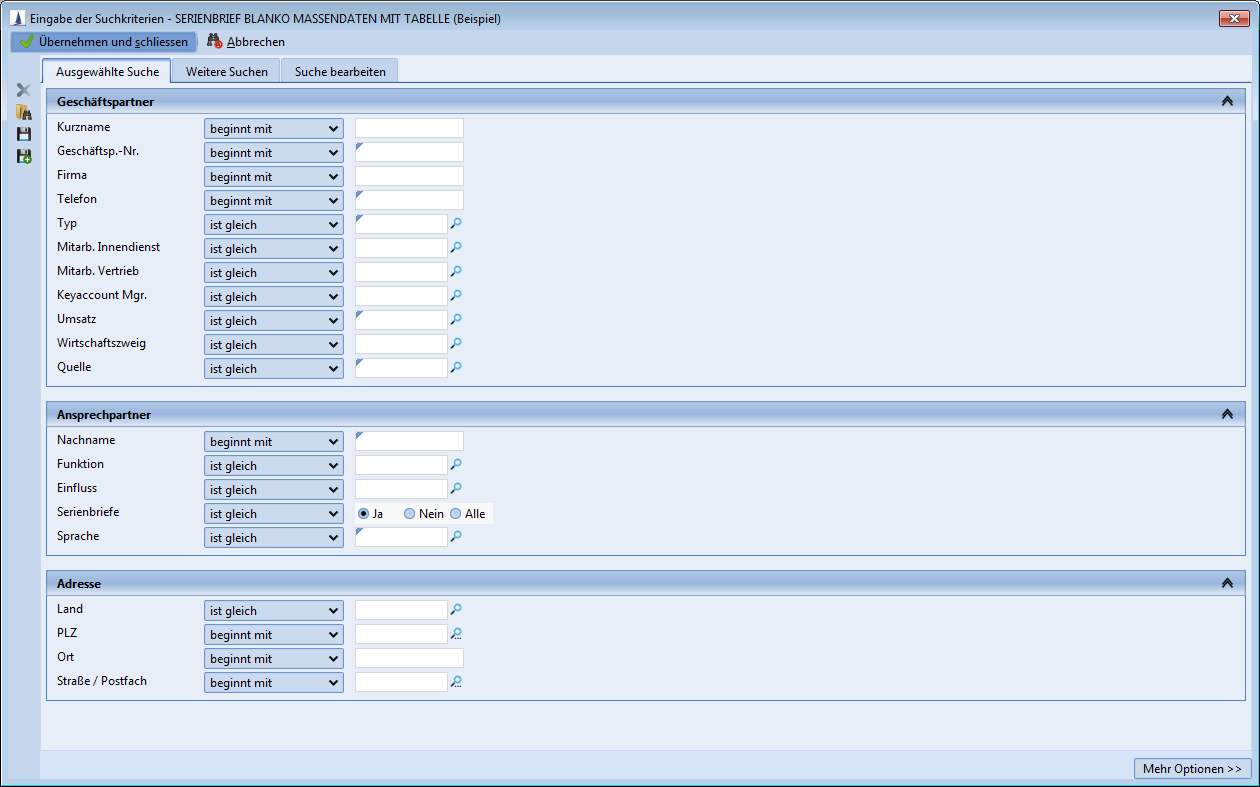
You can use the search dialog as you would for default searches.
Change sorting
How to affect the sorting:
-
Click Change sorting. The dialog with search and fields opens.
-
Select a main search from the selection menu.
-
Click on

Add sort fields. The allocation browser with fields opens.
-
Assign available fields.
-
Confirm with OK. The sort order is displayed.
-
If required, you can change the sorting by shifting the fields up with

, down with

or use

to delete them completely.
If you want to sort descending according to a specific criterion, activate the corresponding checkbox (Sort descending). Default is set to ascending. -
Close the sort dialog by clicking OK.
In case you have several thousands of single files it makes sense to sort them. The sort criteria (fields) depend on the underlying search and can be combined.
In the example it is sorted at first according to Company and then according to Employee sales.
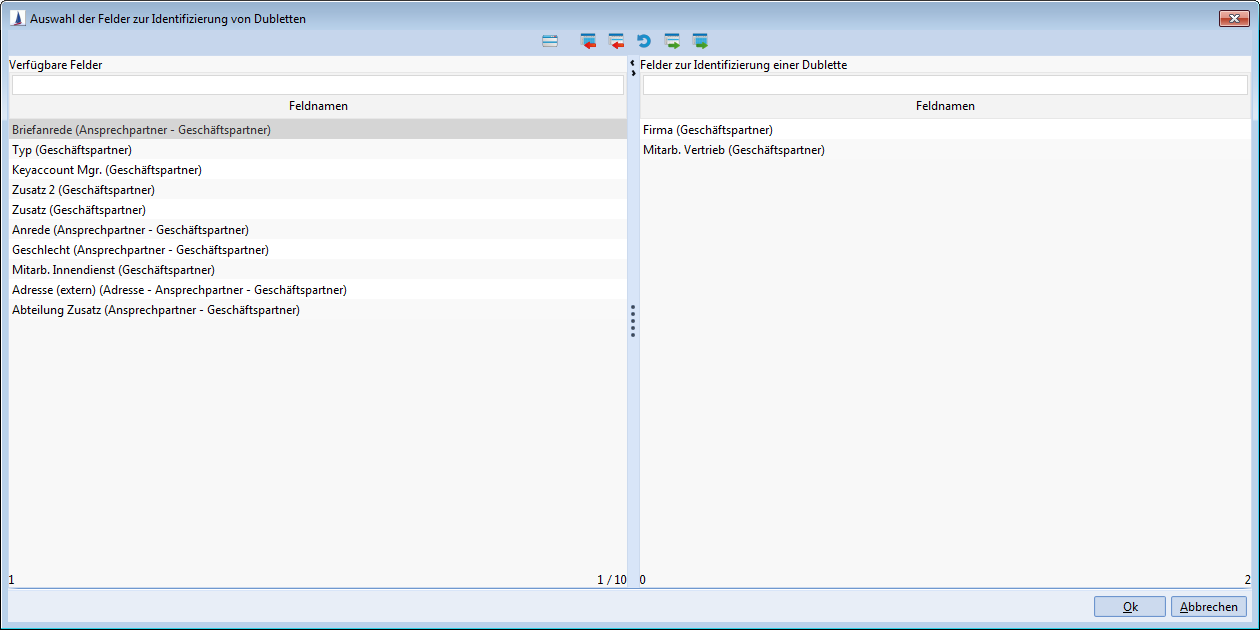
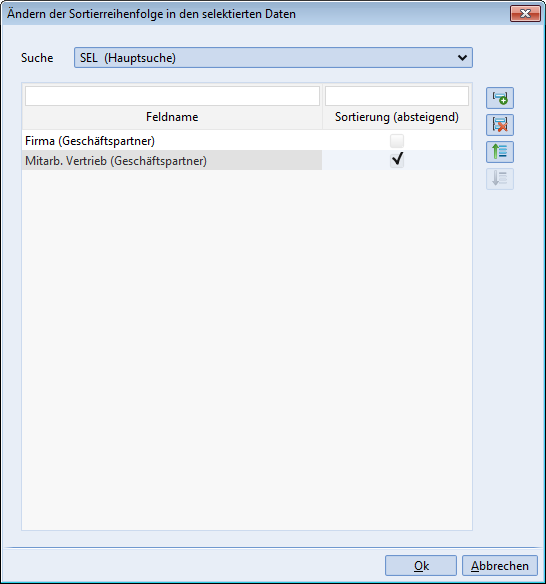
Figure: Sort order dialog
Dependent data can be shown in table form (e.g. an invoice with listing of the corresponding plants). These data can also be sorted. The appendant table is sorted through the table search (e.g. a listing of appendant plants according to performance). Depending from the search you can use an arbitrary number of table searches.
Once the sorting is set, it is displayed in the assistant.
The search criteria and sorting can also be optimized later.
Once the search criteria and the sorting are defined, the command can be passed to the application server.
Start selection action
How to start the selection action:
-
Click Start selection action. The command is transmitted to the application server and the assistant closes.
-
The search is started on the application server. The duration depends on the capacity of the server capacity and the data volume.
-
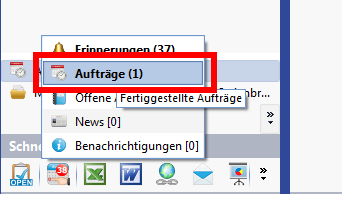
Once the server task is completed, you will be getting a system message. Alternatively the quickstart bar displays a completed task.
With a click on the symbol Tasks you open the level with all completed tasks. -
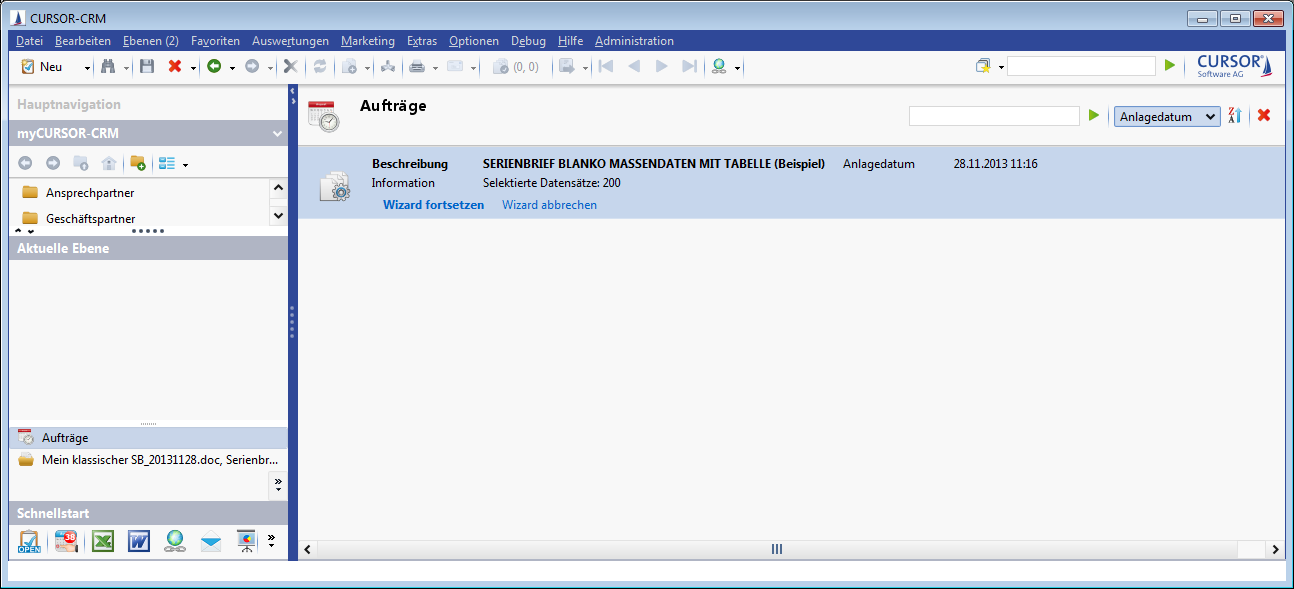
Move the mouse to the serial letter job and click Proceed wizard. The dialog is opened and the number of datasets found is displayed.
Clicking on Cancel Wizard deletes all configured search criteria and the sort order and aborts the entire process. In this case, creation of serial letter must be triggered again.
Once the selection action is completed, the prepared data are on the server. With these data the document template is filled in the following step.
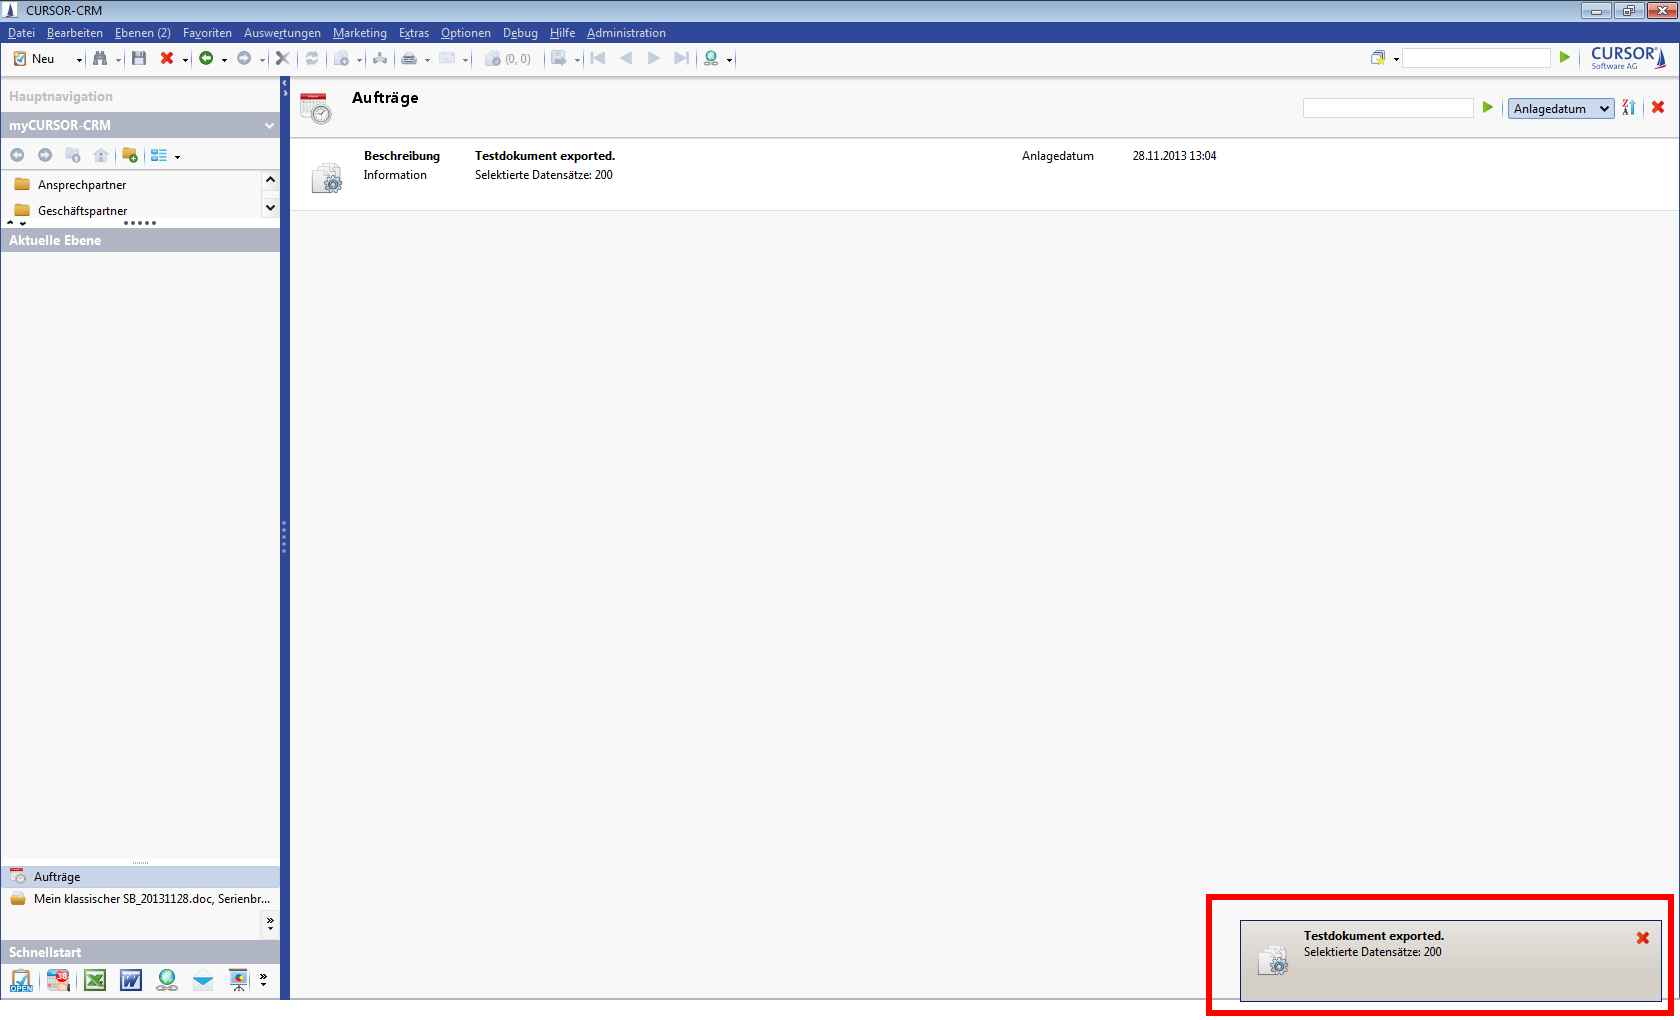
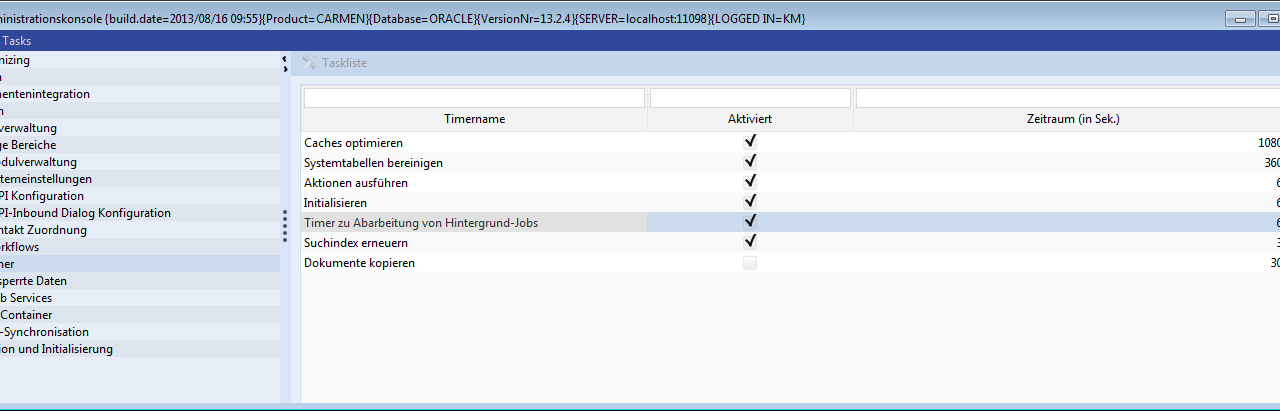
The wait time does not only depend on the data volume, but also on the setting in the timer. If the selection is made quickly, the message on the quickstart bar is shown according to the processing time configured in the admin console. (Here: Here: 60 seconds)
All settings are kept in the dialog of the assistant. Additionally you can see the number of datasets found. Here: "200 datasets were found". The search results are written into a temporary table. Every serial letter action is recorded in the entity serial letter mass data.
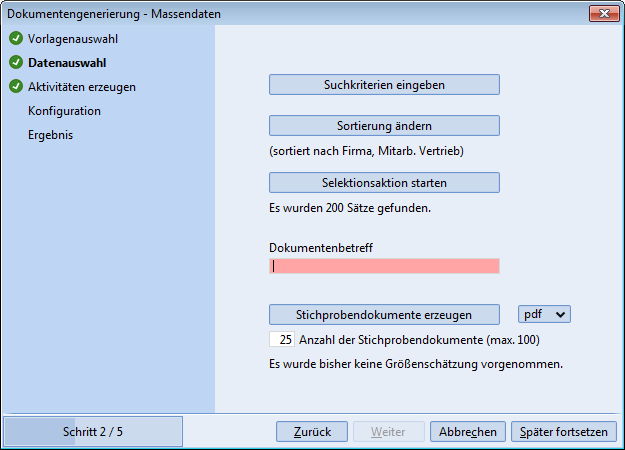
Generate test documents
How to create control sample documents:
-
Select the desired document format from the selection menu (pdf, doc, docx)
-
Enter the number of control sample documents
-
Click Create control sample document.
-
Select the directory for storing the documents. Confirm with Open.
-
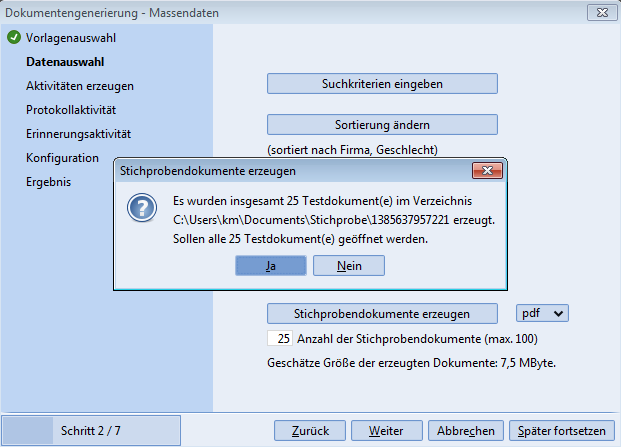
In the directory a sub-directory with the created documents is created. The name of the sub-directory is the time stamp. A dialog opens.
-
Click Yes, if you want to open all documents with the standard application at once.
OR
click No, if you do not want to open the documents.
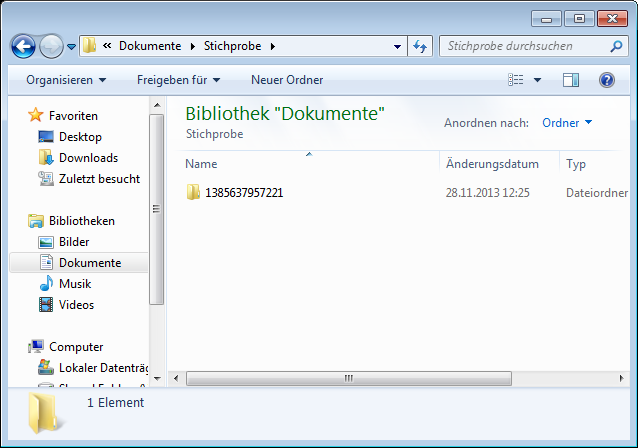
You can always find the control sample documents in the sub-directory. In the target directory you can manually open a desired control sample document.
When you want to view the serial letters to be created at random, you can create a control sample of max. 100 documents. The control sample is taken equally from the complete found datasets. When you have 200 datasets and take 25 control samples, every eighth document is generated. If you have 1000 datasets and 100 control samples, every tenth is generated a.s.o.
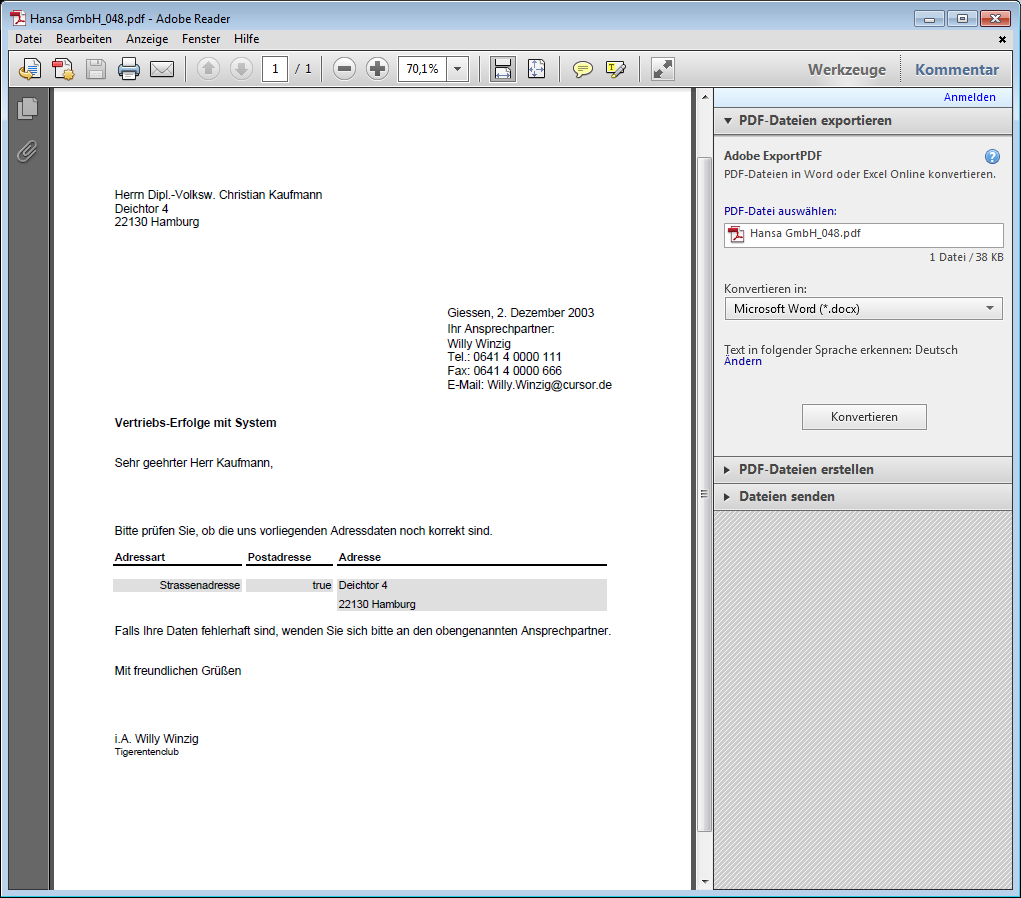
In the target directory the documents are sorted in alphabetical order (ascending) according to company name, as expected.

In the example document the table with the corresponding data is visible: Address type, post address, address
Above that, an estimation of volume is done. A lot of memory capacity might be required when you have thousands of documents. With the control samples the required memory capacity is calculated. (Here: 7.5 MB)
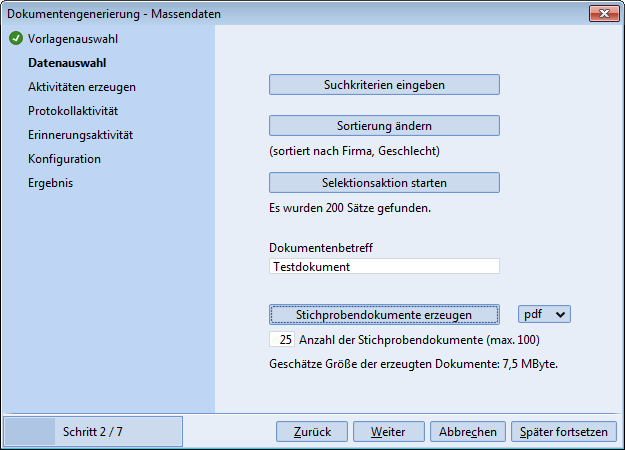
To continue the wizard, the required field Document subject must be filled. With Next the next step is executed.
Create activities
This step is similar to the classical serial letter creation. Compared to that there is no possibility, however, to create the collection activity. Only single activities are generated. Activity creation is optional and can only be conducted once.
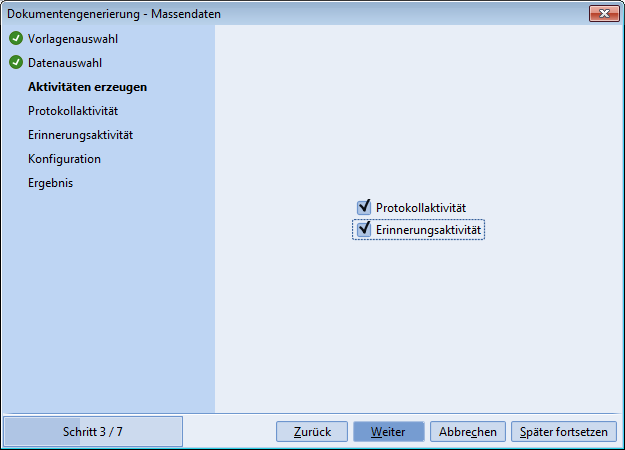
In the description, we assume that these options have been activated.
If in the serial letter assistant the checkbox 'Reminder activity' or 'Protocol activity' are deactivated and activated again, both activity sides keep the former entries (field values and employee allocation).
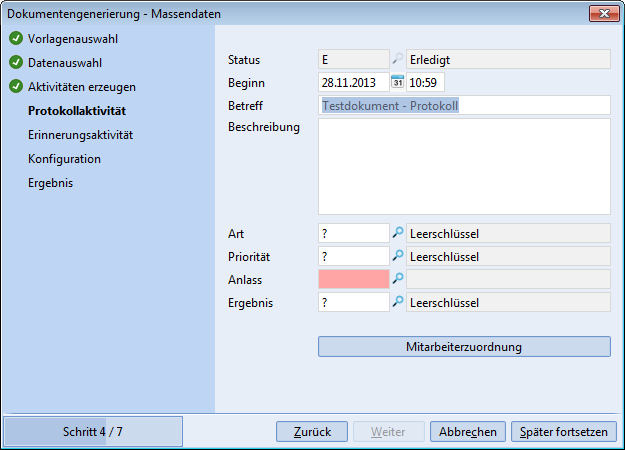
Protocol activity
Enter the data relevant for the protocol activity. The field Occasion must be filled.
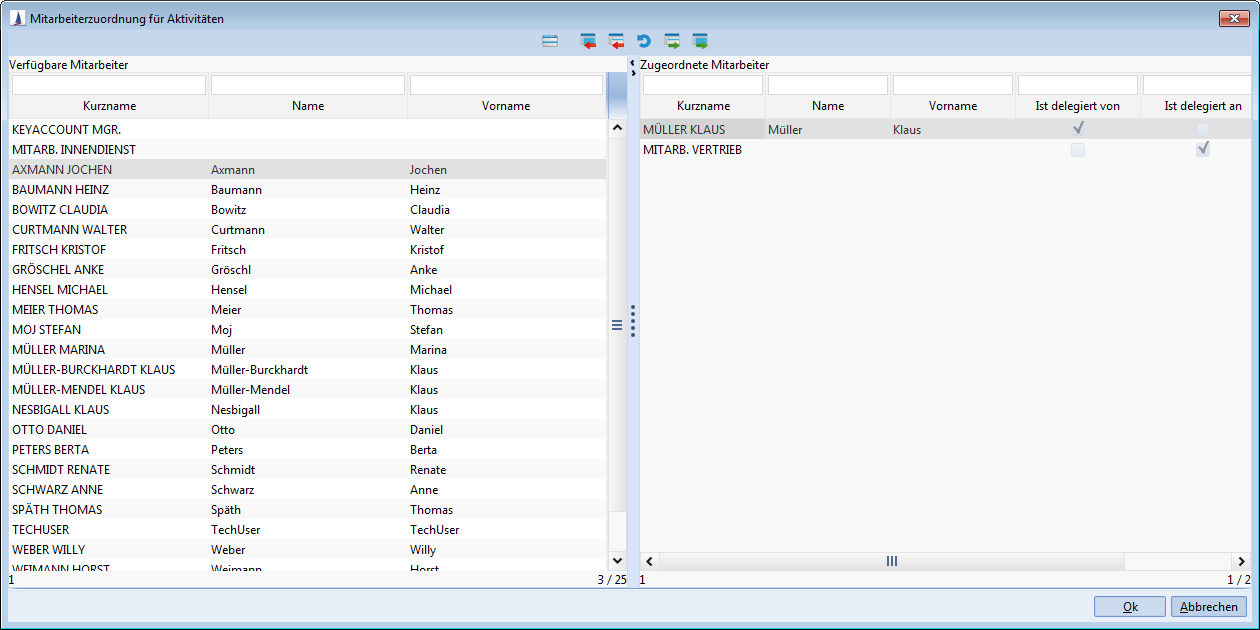
Employee allocation
Like in the classical serial letter the serial letter creator is always the one who delegates and can, for example, delegate the activity to staff members.
Once all fields are filled, click Next. Image:

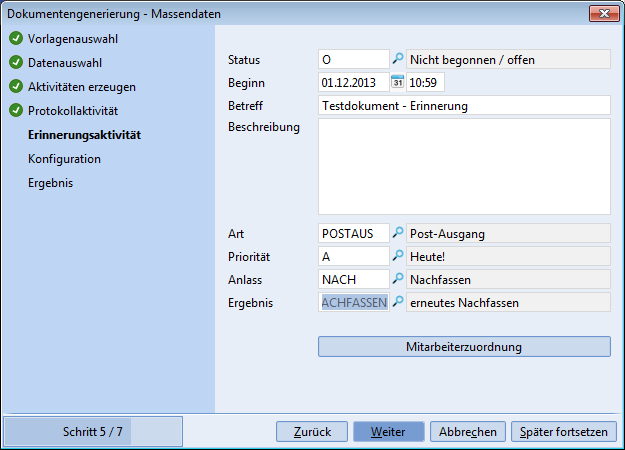
Reminder activity
You set the reminder activity when you want to create a return date
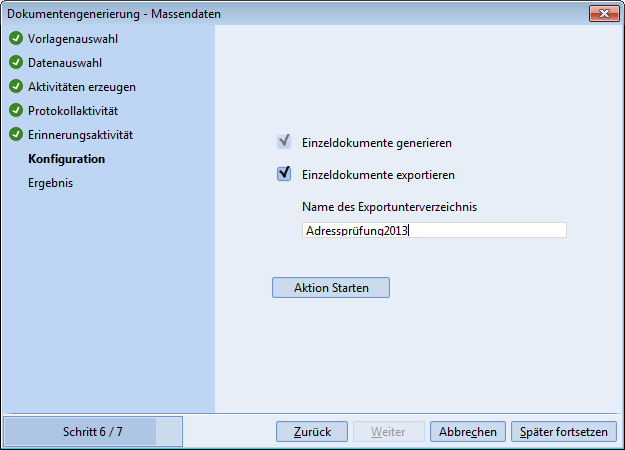
Configuration
The configuration in this step relates to the serial letter form and the optional export function of the created single documents.
-
At first only the single documents are generated. This option cannot be changed (this is for further development).
-
In this step also the user can export (copy) the single documents into a sub-directory to have direct access to the copy-files. The originals are still in the document directory of the application server.
Enter the name of the export directory to copy the single files into it.
You can ONLY enter the name of the sub-directory located in one of the paths defined by the administrator. Ask your administrator about the path. Image:
To start mass generation, click Start action. Before the action is started, you will get a message about which partial actions are executed.
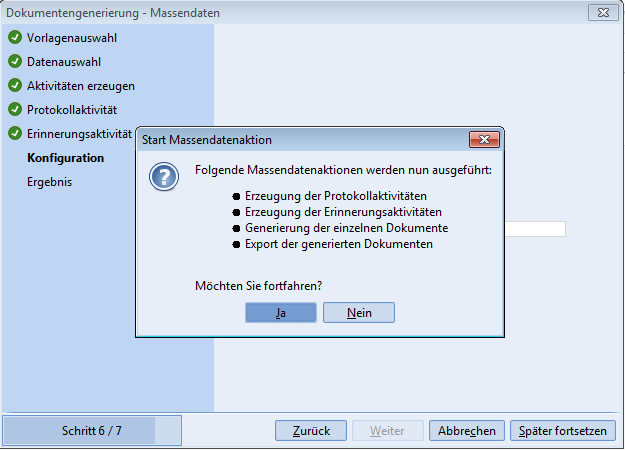
With the confirmation Yes it is not possible any more to navigate back in the assistant and adjust the configuration. At this point, select No and you can still change any setting (except: deleting activities, if created). How to navigate in the assistant is precisely described in a separate chapter.
By clicking on YES, the command is sent to the application server. The already implemented data selection (from step 2) provides data to the template. Depending on the data volume the wait time can be several hours.
Once the task is completed, you will be informed via system message or quickstart bar.
Result
If the serial letters have been successfully created on the server, you will be getting a dialog with a list of all actions made resp. a message on the quickstart bar through which you can open the assistant again.
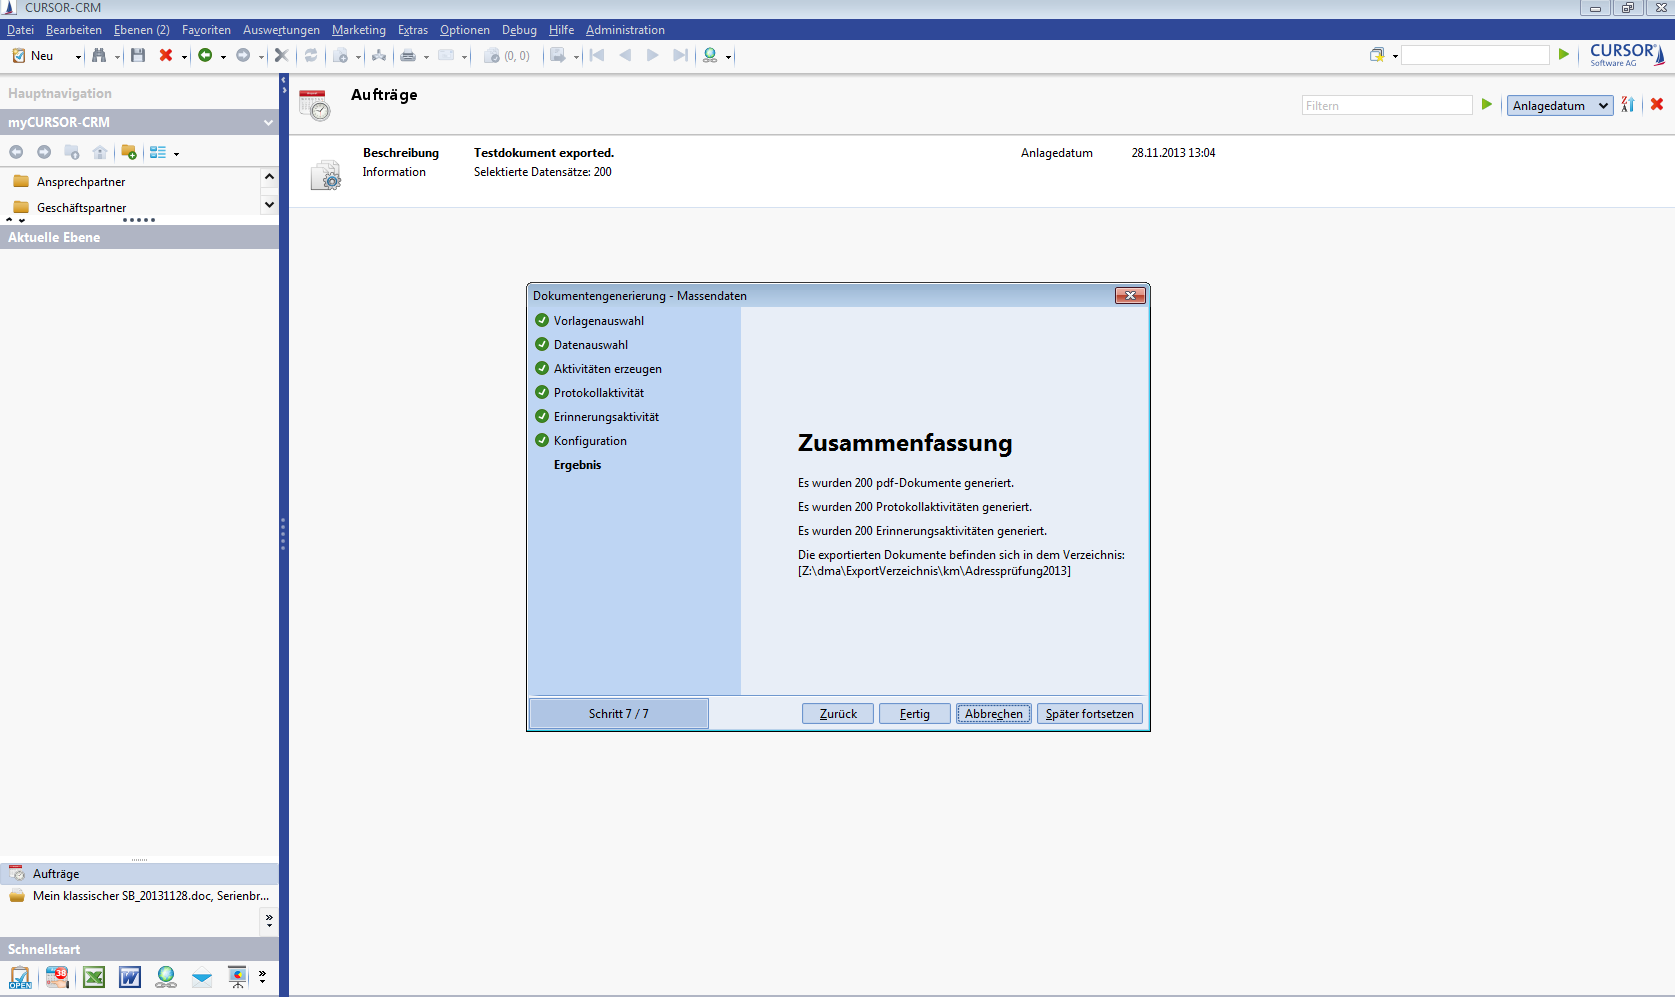
The button Done is only active when the single documents have been created. Clicking Done ends the serial letter creation. The assistant cannot be invoked any more. Configuration settings for the search and the sort order as well as the format parameters are deleted.
If you made a mistake in the configuration or if the single letters do not meet your expectations, the whole procedure needs to be repeated.
Tips for creating mass serial letters
The creation of serial letters with thousands or even millions of datasets is a process that takes several hours. During this time you as user or administrator also have other tasks. The CURSOR-CRM solution supports you in this. You can "go on" when you have the time. The system waits for you with the next step and informs you when the task is completed.
Interaction application server user
According to the requirements for mass data processing, the single documents need to be created on a powerful server. The job of the user is to collect the commands on a client computer with the support of an assistant and transmit them to the server. Once the server has completed the task, it reports it.
Navigating in the assistant
Usually you will be making all steps in one action. However, it might make sense to execute the actions individually. The server resources might play a role, for example. In case all actions will take 9 hours, you can make them in three steps with 3 hours each.
Assistant steps' flexibility
Every step in the wizard can be undone up to the point Configuration / start action.
If the dialog Start action is confirmed with Yes, all changes can only be viewed. Changes - with one exception - can not be done any more. As far as you have not created a protocol activity or reminder activity yet, you can navigate back to the assistant step Create activities after creation of the documents and create these subsequently.
Change template
Template, data, activity configuration can be changed. To do so, click Back.
If a template has already been selected, it can be changed.
Other steps need to be configured anew.
Change data selection and sorting
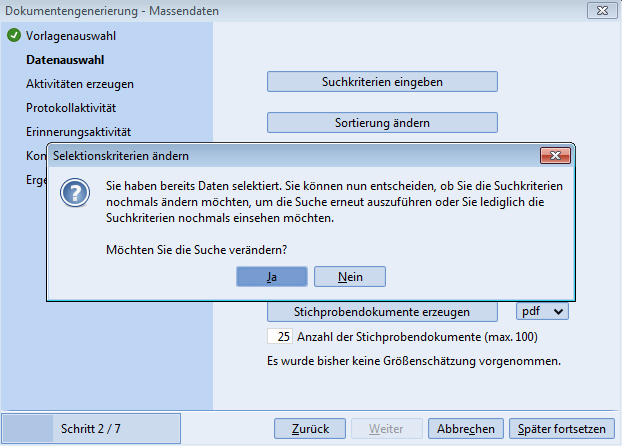
If a search has been implemented on the server and the task got completed, you still have the possibility to change the search. Clicking Edit search criteria shows a dialog where you can select from changing entered search criteria (Yes) and just have them displayed (No).
When you have changed the search and the sorting, the new search criteria (with Start selection action) are again transmitted to the server. Once the task is completed, you are informed by the system. From now on the documents are filled with the new search results.
Other steps need to be configured anew.
Hide and unhide assistant
As long as the assistant is not aborted, you can unhide and hide it again.
The assistant dialog is hidden in three cases:
-
a task is transferred to the server and processed
-
you click Cancel – the wizard is closed, changes, however, are not persistent on the mask. The task remains in the task list. When you continue, the last status is loaded again.
-
Click Continue later (e.g. you get a call) – the current status in the mask (document subject, format etc.) is saved and the wizard is closed. The task remains in the task list.
To unhide the wizard, go to tasks (quickstart / tasks) and move the mouse over the serial letter task. Click Continue wizard. The assistant dialog is unhidden again with all current settings.
Abort assistant
If you abort the wizard all settings get lost and can not be viewed any more. The same applies for tasks with created documents. For this purpose go to the tasks (quickstart / tasks) and move the mouse over the serial letter task. Click Cancel wizard.
Selection of lookup fields
The following restrictions apply for the use of lookup field in mass data serial letter
-
Lookup fields for central key table (S_Keytab) provide the bookmark type 'KEYVALUE' und 'DESCRIPTION' (analog to classical serial letter with main document).
In case of bookmark type 'DESCRIPTION', however, it applies that no internationalized description texts are supported. Always the system language is used!
-
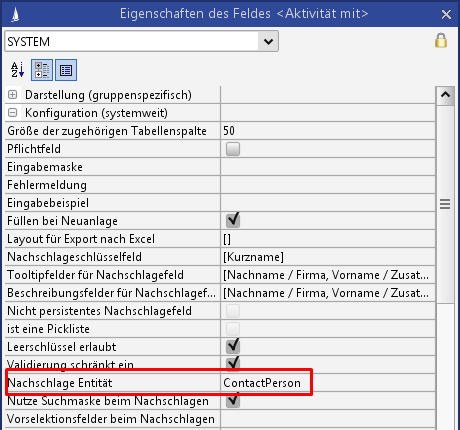
For lookup fields on all other entities the bookmark type 'DESCRIPTION' is not supported. Only the bookmark type 'KEYVALUE' is provided. The basing lookup entity can be taken from the field properties.
-
What belongs to the lookup fields on entities is for example
-
Activity: 'Activity' is a lookup field on the entity contact person
-
Contact person, business partner, employee: 'Type' is a lookup field on the entity person type
-
Address: 'Street' is a lookup field on entity street
-
Address: 'District' is a lookup field on the entity district
-
Address: 'ZIP code' is a lookup field on the entity ZIP code
-
Address: 'Country' is a lookup field on the entity country
-
Alternatives for using bookmark type 'DESCRIPTION' in lookup fields on entities
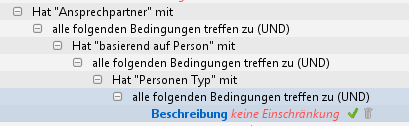
Variant 1: Selection of description field by lookup field 'Type' in contact person
Instead of directly using the field 'type' in contact person, the relation to the entity 'person type' is taken up in the search. In the case here it has to be considered that the field 'type' is a delegated field from the entity 'person'. This is why the access to the entity 'person type' is made through the entity 'person'.
In the mapping of the corresponding template the field description of the entity person type can now be used with the bookmark type 'TEXT'.
Internationalized description texts in lookup field 'person type' are also not supported here. Always the system language is used.
Picklist fields
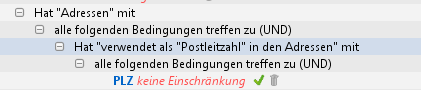
In pick list fields, like for example ZIP, Street, District, free values can be entered. Therefore it does not make sense from professional and technical point of view, to use values from the lookup entity. The following example shows how to not do it!
If, however, the above procedure is applied, the following two problem can occur:
-
All datasets with individual values in pick list field are no longer shown in the selection result.
Example: All contact persons with individual ZIP codes in addresses are no longer displayed in the selection result list.
Background: Freely chosen inputs in the pick list field have absolutely no relation to the basing lookup entity so that sets to not appear in the selection result. -
Cross product
In a lookup entity the entries do not necessarily need to be distinct. For example a ZIP code can be stored more times in the entity ZIP since several localities can have the same ZIP code. Result of the above search would then be that one contact person is selected multiple times, when to his/her ZIP code several entries in the entity ZIP exist.
Variant 2: Output of more fields by entity contact person
Objective: The description field to the looked up entity is to have several fields.
Solution: Use of database function by application of concatenation operators of basing database.
In the example here, if the first and the last name of a person is to be shown, e.g 'Klaus Müller'

Examples
ORACLE: ${Name1.Person} || case when ${Name2.Person} is null then '' else ', ' || ${Name2.Person} end
MSSQL: ${Name1.Person} + case when ${Name2.Person} is null then '' else ', ' + ${Name2.Person} end