Basics
Mass data serial mails (>100,000) are individual mails, which are created from the CRM system. Using a wizard, the user can configure the actions to be executed, such as selection, activity generation, attachment and send them to the application server as a task. The actual implementation is made on the application server (preferably mass data server). The actions can be sent by the Client bundled or individually to the application server. Each time the action is sent to the server, the wizard closes – the user can continue to work in the system. As soon as the action on the application server has been processed, the user receives a message via the task list and can open the wizard and continue the serial mail action.
This interaction between client and server is repeated until the user has sent the mails.
Significant characteristics of mass data serial mail
-
Selection of any data volume
-
Sorting of the selection result according to numerous criteria (e.g. ZIP code, company name)
You can also sort the results in the table output. -
The sent mails are recorded as activity in the system
-
A mail configuration with server-side groupware connection must be stored as user-specific mail configuration or as serial mail configuration
-
No log activity is generated – instead the sent mail is recorded as activity
The user can decide between collector activity and single activity -
The template is associated with a search in the admin console that finds the addressees. In the wizard this quantity can be filtered
Procedure
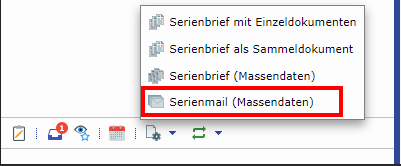
In the toolbar, click on

Serial mail (mass data) |
|---|
to start the serial mail creation. The template selection dialog opens. The wizard and the taskbar guides you through the complete serial mail process.
How to select a template:
-
In the menu click
|
Serial mail (mass data) |
|---|
-
Select a template.
-
Click OK.
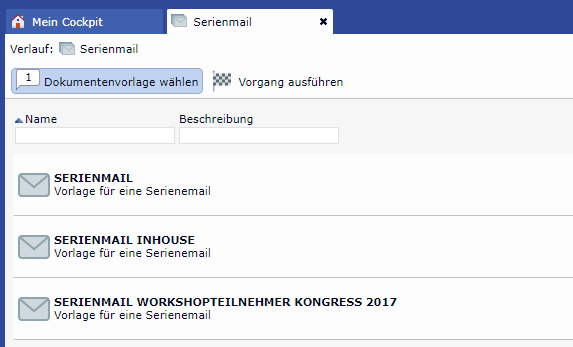
Clicking on a template leads the wizard to the data selection.
Change template button is no longer available once the search has been executed on the server (Start selection action button).
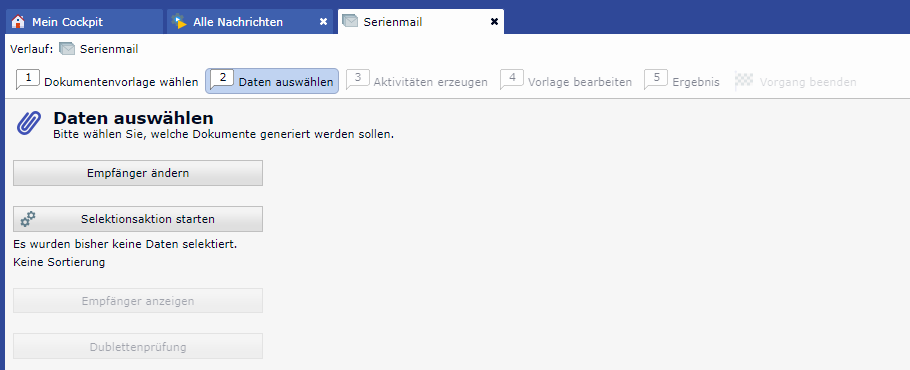
Select data
The step Select data is used to generate the addressee list.
After selecting the template, you can filter the list of potential recipients (Change recipient) or run the search unchanged (Start selection action), which was stored in the admin console for the serial mail template.
Change recipient
Click Change recipientto open the search window and enter filter criteria.
Click on

Apply and close |
|---|
to apply the changes.
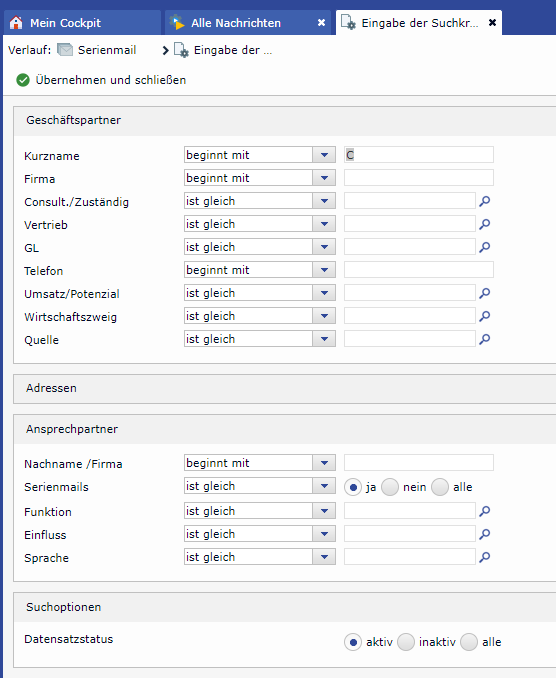
Figure: Customization of the list of recipients in the search dialog
Start selection action
With a click on

Start selection |
|---|
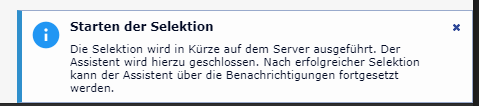
the inquiry will be forwarded to the server and executed there.
The user is informed about this with a pop-up menu.
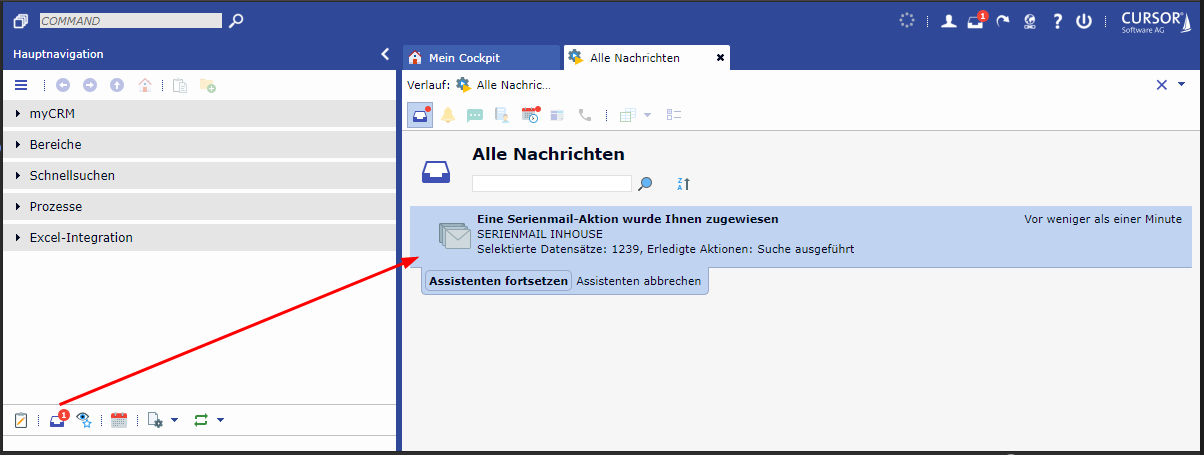
If the task is finished on the server, the user is informed about it via the notification system. An entry appears on the message desktop. From here, the user can click Continue wizard to switch to the further wizard step.
Show recipients
Now you can view the recipient list in the merger and make further changes manually. Confirm changes with

Save |
|---|

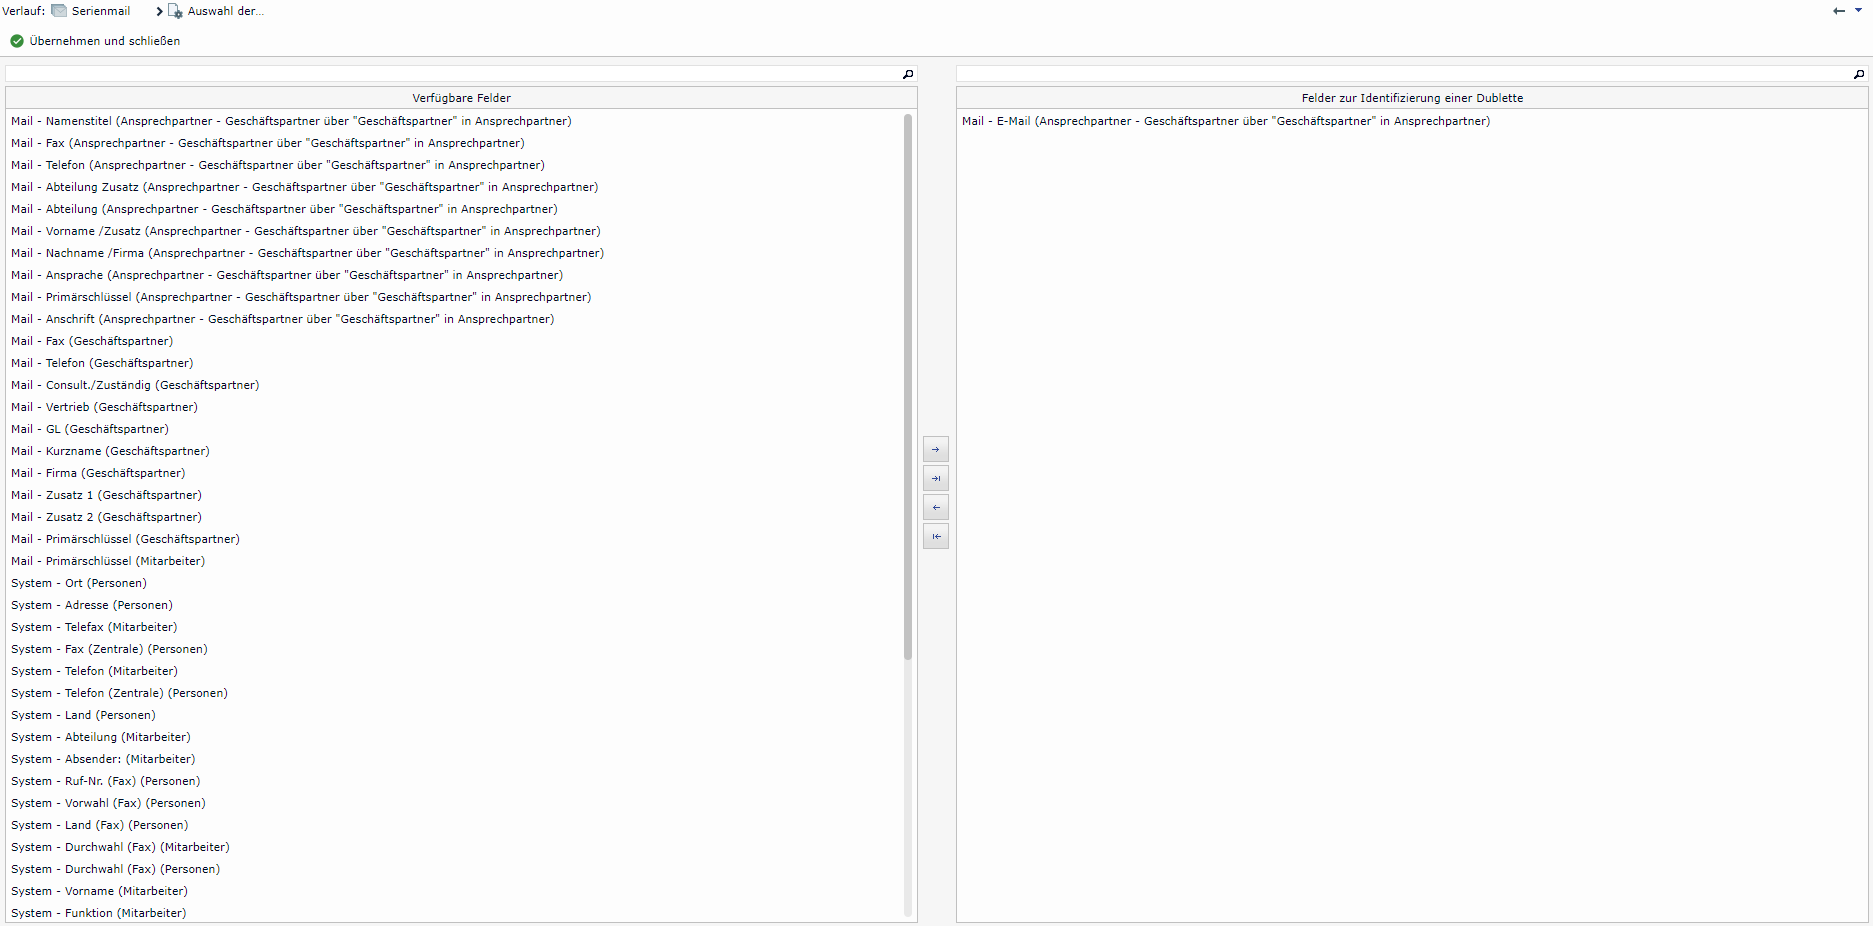
Duplicate check
To prevent duplicates when sending your mails, you can then run the duplicate check. For this purpose, you can use any fields as comparison criteria.
After
|
Apply and close, run the search on the server again. |
|---|
Once you have defined the desired list of recipients, you can generate the activities.
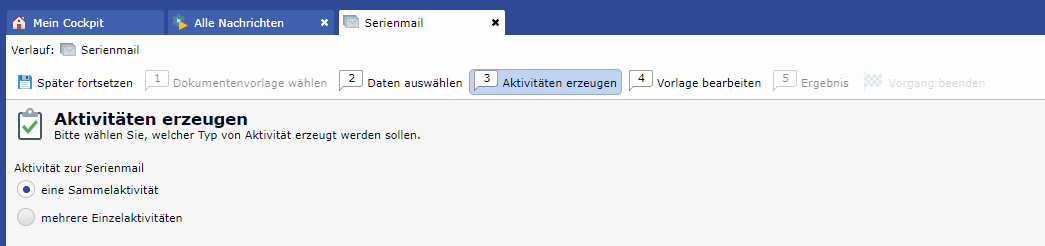
Create activities
In the next step you can choose what type of activities you want to create.
The selection option is available if the serial mail generation has not been performed yet.
-
a collector activity
An activity that contains in the "body" the processed mail template (with non-replaced variables), linked with attachments and with further entities according to specifications from the mail template, e.g. contact person, business partner, etc. -
multiple single activities
Sent mail as activity per recipient, linked with attachments and with further entities according to specifications from the mail template, e.g. contact person, business partner, etc.
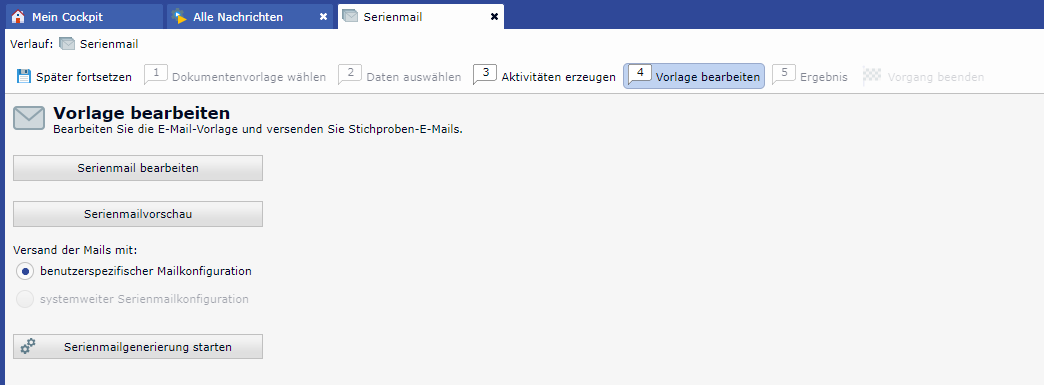
Edit template
In the fourth step of the wizard you can edit the content of the template:
-
Edit serial mail
In this dialog you can insert the mail text and the text variables. Additionally, you can add attachments (CRM files and external files) -
Preview serial mail
In this dialog you can see the mail with filled text variables and attachments. This is what the future mail will look like.
Mail configuration selection
-
Default setting:
If a system-wide valid serial mail configuration is stored in the system preferences, the option "system-wide serial mail configuration" is selected
If no system-wide serial mail configuration is stored in the system preferences, the option "user-specific serial mail configuration" is selected -
The option can be changed,
-
as long as the serial mail generation has not yet been performed
-
and a system-wide serial mail configuration is stored in the system
-
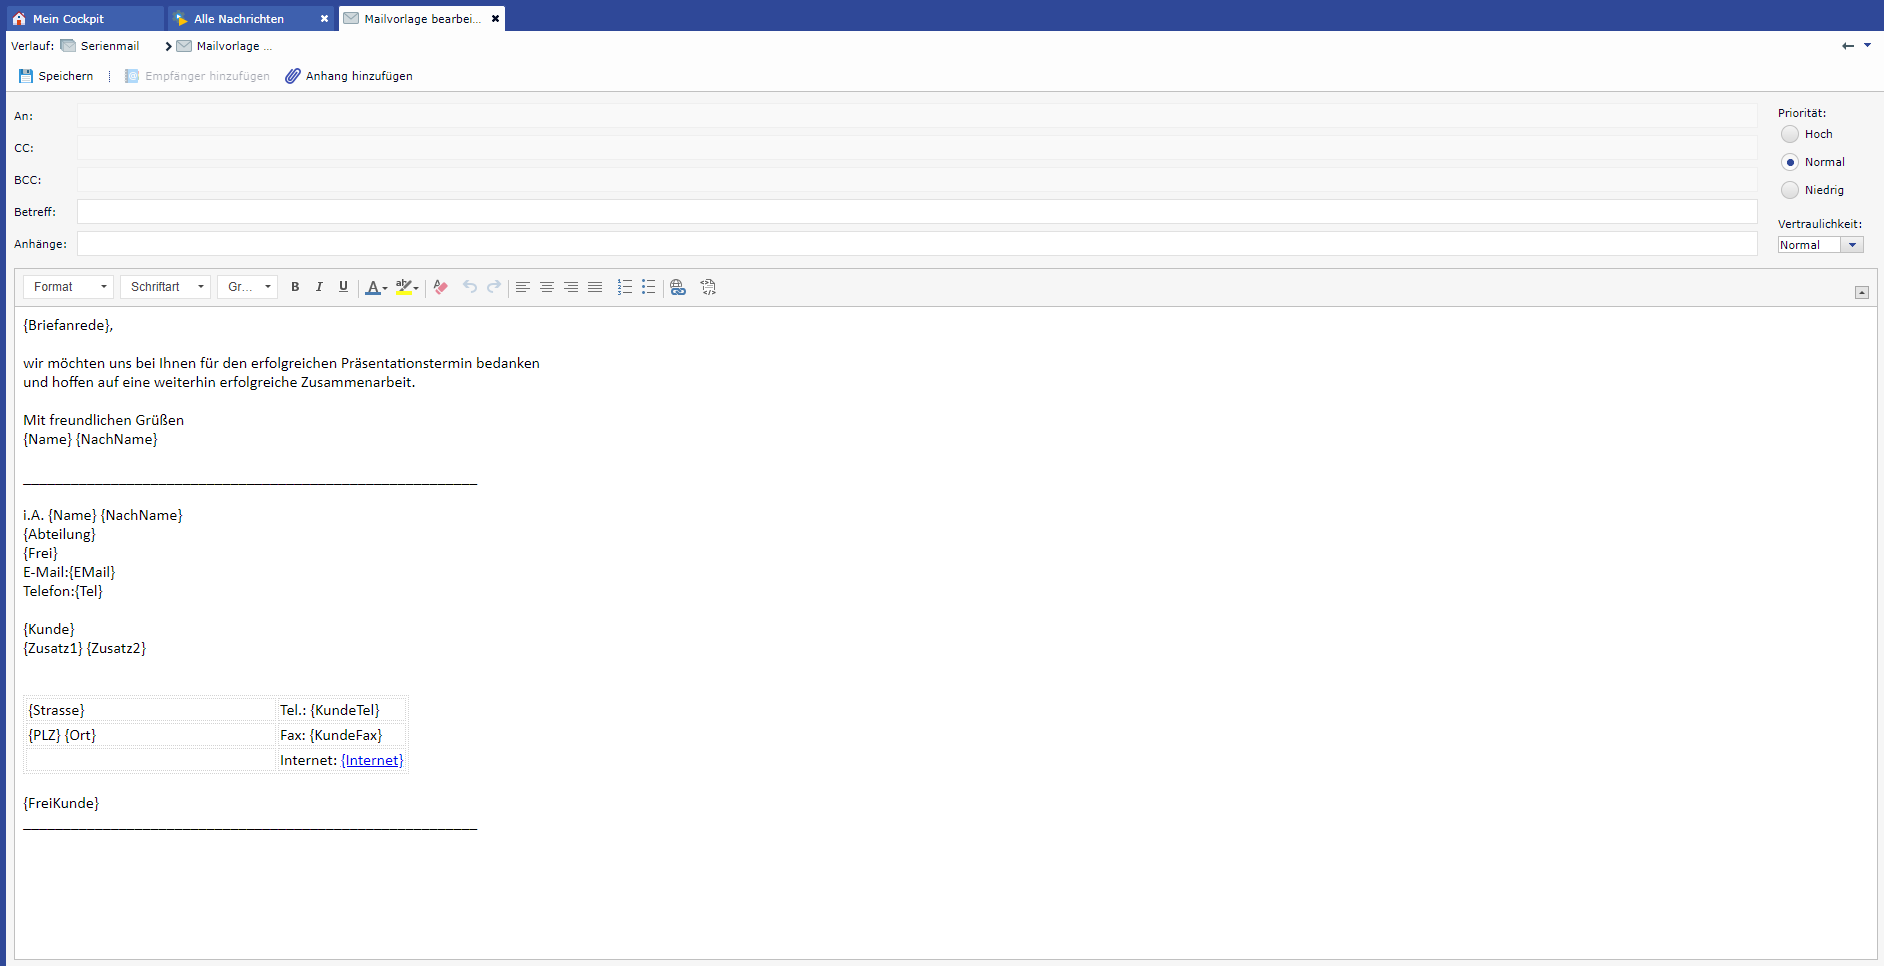
Edit serial mail
In this dialog you edit the template:
-
write and format the text
-
use desired text variables
-
set the priority and confidentiality level
-
edit the subject line
-
assign attachments (existing documents from the application and external documents from the operating system)
The attachments are created as document datasets and linked to the mail activity
-
Graphics: Only links to graphics that can be reached from the Internet are possible – no support for "inline" graphics
Alternative as link:<img src="http://www.giga.de/wp-content/uploads/2017/01/blitz_17_1_17-rcm992x0.jpg"> -
Use mail signature from Outlook is not possible
The signature is stored by Outlook on the Windows computer and is therefore not available.
Tip
Create the signature directly in the template
Once you have completely edited the template, save the changes by clicking on
|
Save |
|---|
Preview serial mail
In this view, the variables in the serial mail template are replaced with the values of any dataset. No more manual changes are allowed to the mail (read-only display). Priority, Subject, Attachments, Formatting bar, Mail text fields are disabled. Likewise, the Add recipient button and the Add attachment button.
However, optional sending of the displayed mail for the purpose of checking the layout (e.g. to detect references to internal graphics) is possible. The "To" field is preset with the mail address of the logged-in user for the purpose of test sending, manual entry is also possible for e.g. for private mail address.
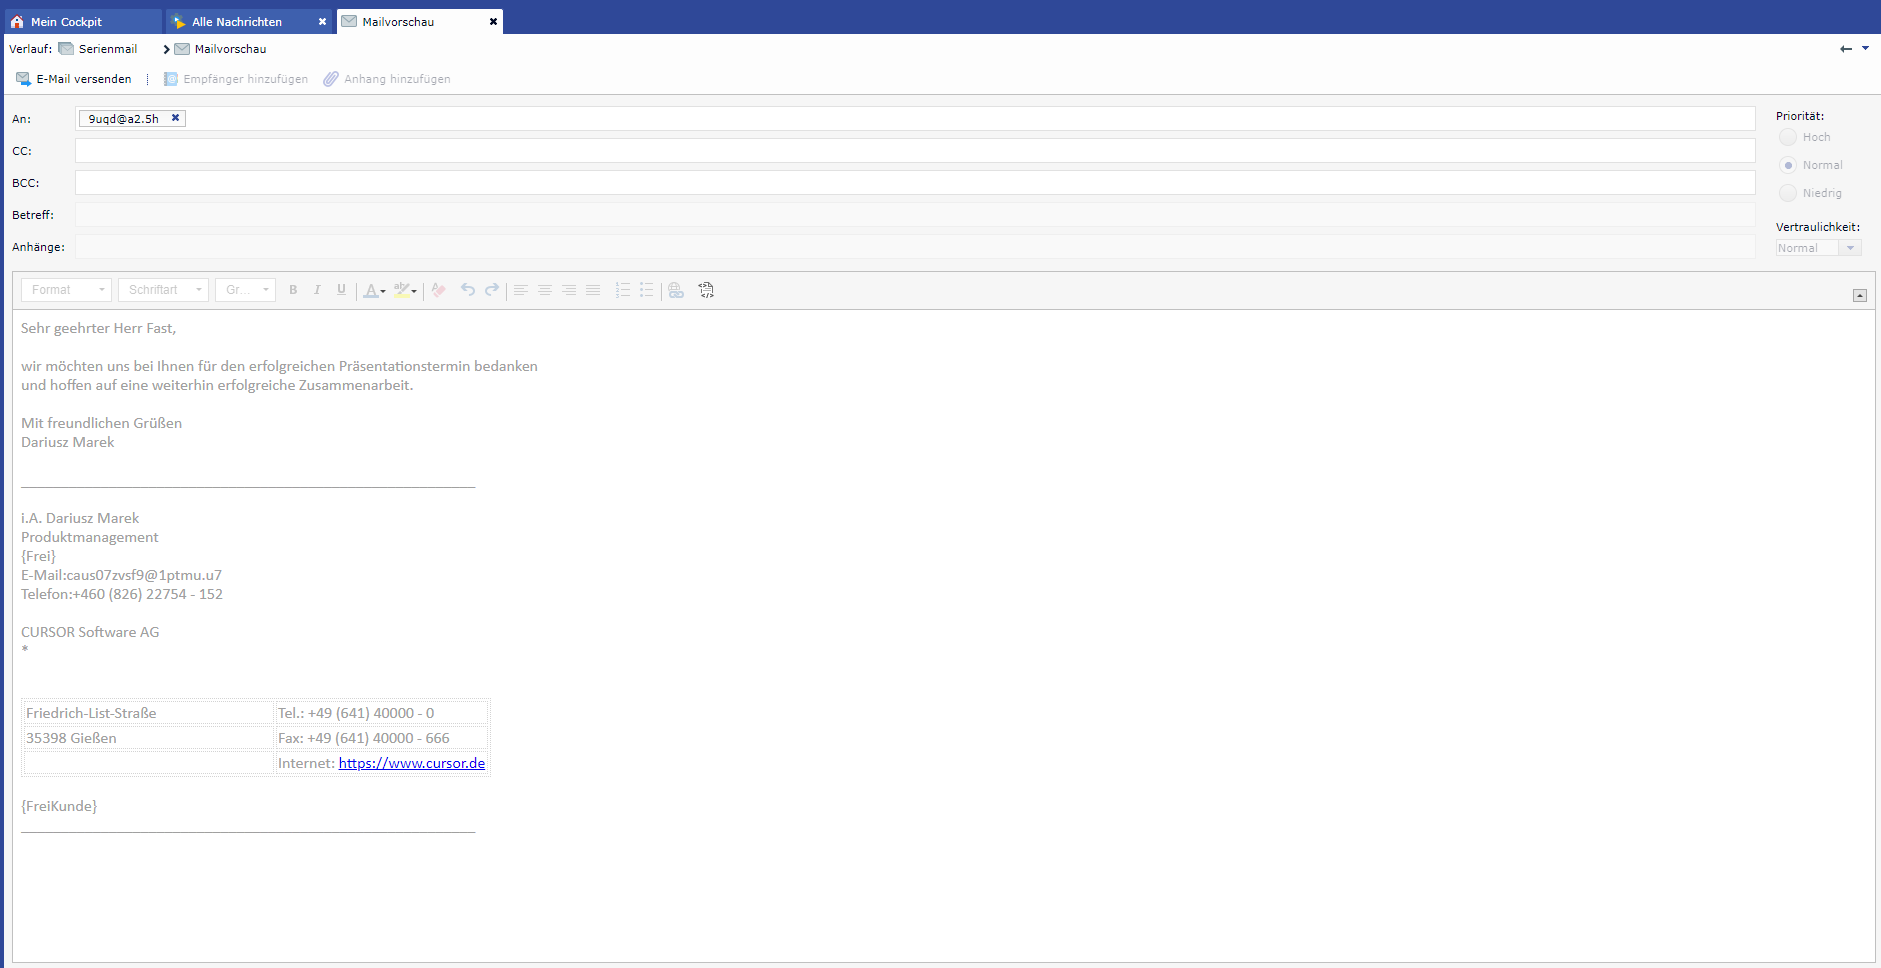
If the mail is ready to be sent, it can be sent to all addressees.
Start generation of serial mail
Before the mail generation is started, it will be checked if the subject of the mail is filled. If you have forgotten the subject line in the edition, a hint message will be displayed ("Subject of the mail is not filled yet. Please correct the mail before sending.").
Click on
|
Start generation of serial mail |
|---|
Before closing the wizard, a message appears informing you that the processing will continue on the server. The result is displayed again in the task list – analogous to the search execution.
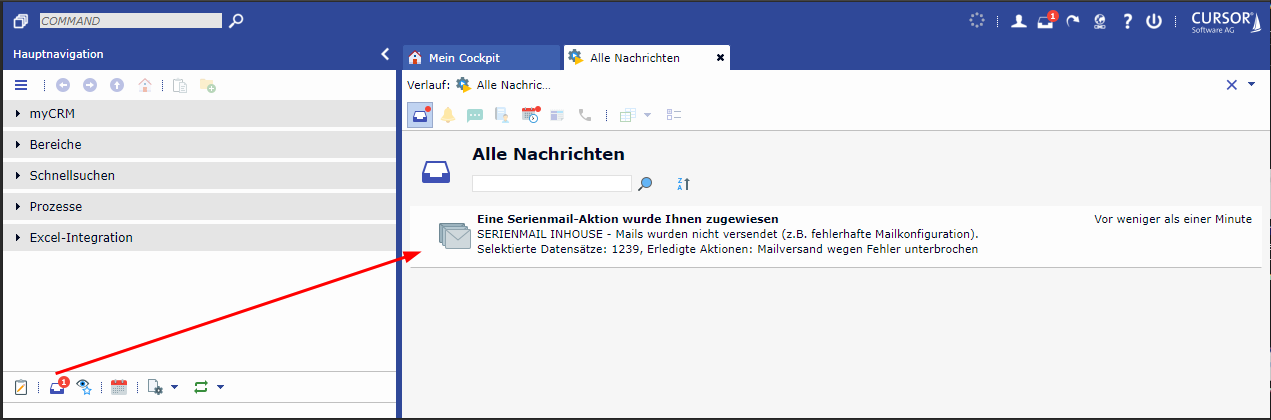
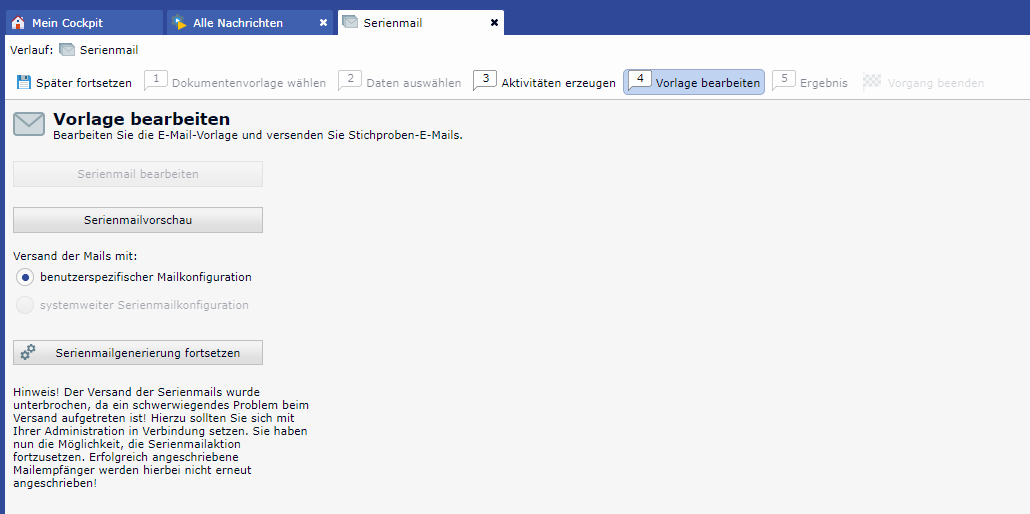
Special case of serious errors in serial mail action – continue serial mail generation
If there is a serious problem with the serial mail generation (a complete packet of mail could not be sent) the serial mail action is interrupted and the control is passed back to the client. In this case, the user ends up back in the Edit template wizard page.
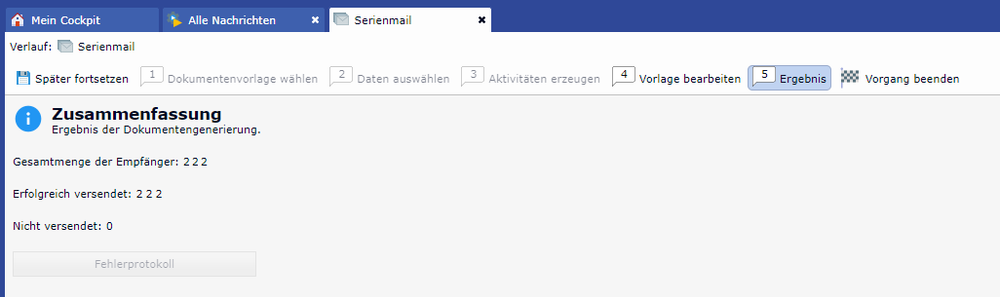
Result
If the dispatch has been successful, a summary is presented in the result. If a mail could not be sent or delivered because, for example, a non-existent mail address was entered, the error is logged. Clicking the Error protocol button opens an Excel file with the dataset of the incorrect addressee. The button is active only when there were errors.
Finish process
If the last page of the mail merge wizard is closed with the Finish process button, the serial mail action is terminated and the task is removed from the task list.