Basics
In the Entities node, additional objects (”Customized Entities” so-called C2 entities) can be created in the database and linked with other objects (entities).
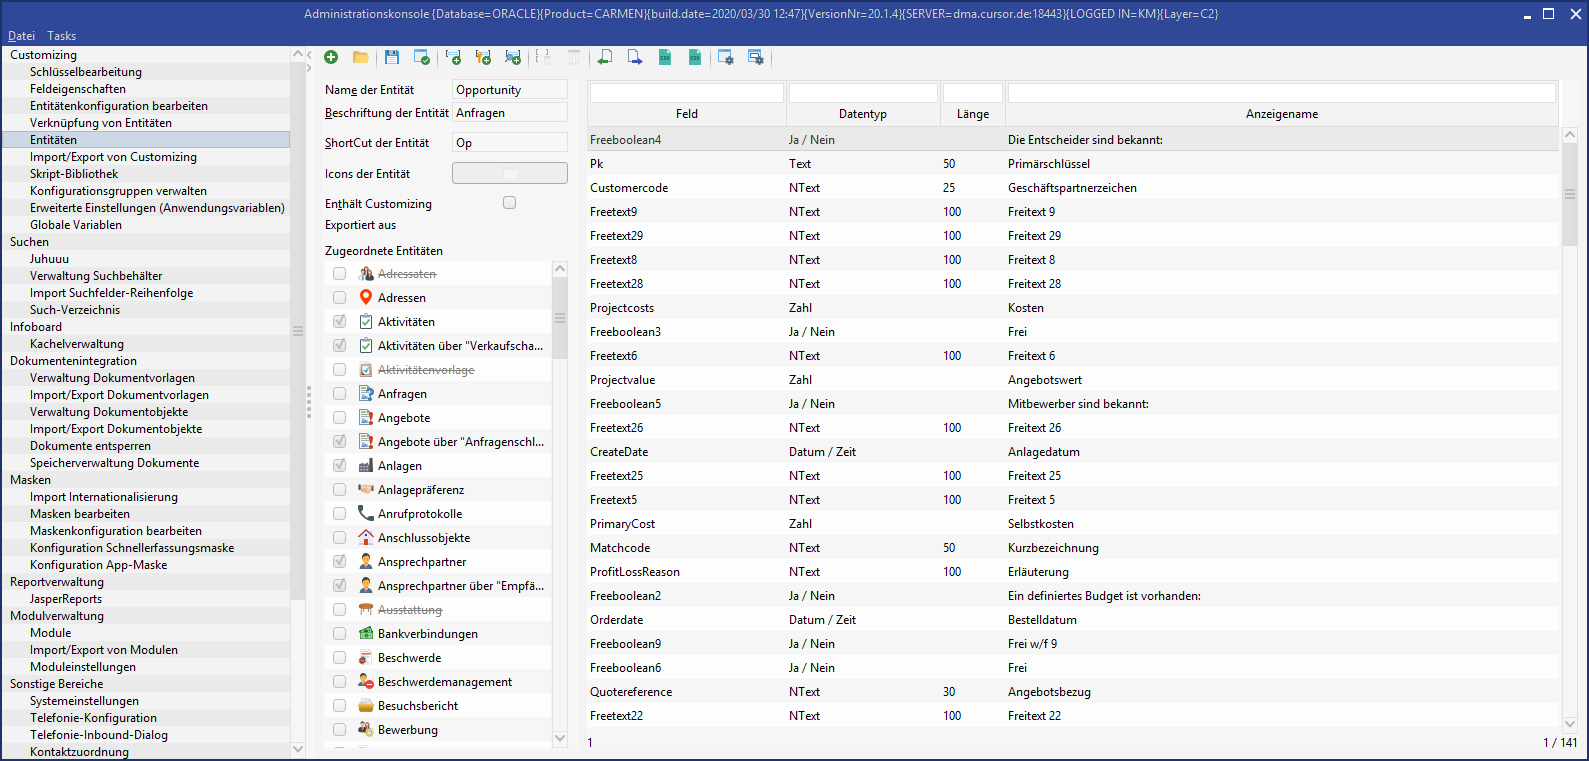
Figure: Entities
Hint
Save your database before you create a C2 entity.
Create new entity
This is how you create a C2 entity (basic process):
|
1. |
Opening the node Entities implicitly leads to the new creation mask for a C2 entity. With the button New button, you can create a new entity if you previously loaded, for example, an existing C2 entity. The input fields for the entity name and entity label are already filled with C2. Simultaneously, a text field with the description Pk already exists in the field list on the right side of the mask. This field will later include the primary key from the table and cannot be removed or edited. |
|---|---|
|
2. |
Create a unique name for the new entity. Remember that the name begins with the character combination C2. This is an internal convention to be able to identify individually created entities by name. If you try to enter a name without C2 in the beginning, the background color of the input field will change. The name of the entity remains in the program later, the user only sees the entity label. A total of 15 font properties can be entered in the EntityCreator, the first font properties must be used for identification:
|
|
3. |
Under entity label, enter the desired description just as it should appear later in the system.
|
|
4. |
The two checkboxes Main Mask and Submask allow you to determine, whether the newly created entity can be invoked later as a main entity, if it should only be a linked sub-entity for e.g. a business partner, or both. |
|
5. |
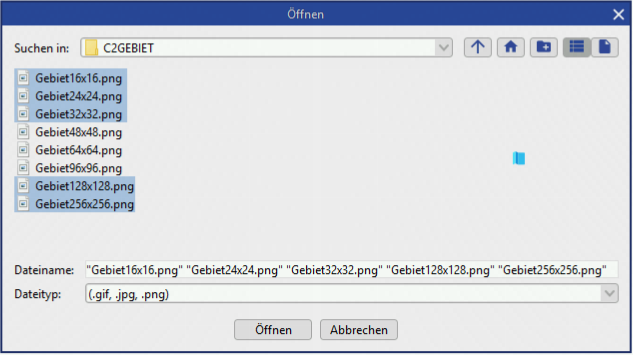
Clicking the button Icons for the entity will load the icons for the new entity. Permitted formats are: gif, jpg and png. Load the icon in 5 resolutions:
The name of the file should be structured as follows:

|
|
6. |
Add new fields to the entity as needed via the toolbar:
The field names (also known as “column names”or “table column names”) may only be up to 15 characters long. |
|
7. |
Set the links via the checkboxes in the area Linked entities. The settings made here have effects on the reachability of the new entity. For example, a new object Additional information is created with the attributes Main mask and Sub-window and only linked with the existing Contact Person entity. The additional information may only be accessed later for each contact person in the sub area. If you open the main mask additional information, the linked contact person can be shown for any information. The assignment to other entities can be changed retrospectively.
|
|
8. |
A configuration can first be examined without saving. You can access the check function via the Check button |
|
9. |
After you have created all required fields in the list without errors, the entity must be saved. This is done via the button Note
If the entity was saved, the button
will be shown in gray. These functions are no longer available. Once fields have been saved, they may no longer be deleted. This is possible only via an SQL statement. |
|
10. |
After the new creation of an additional entity, you need a graphic interface (mask). It is created via the GUI Builder. You can start this module directly via the corresponding button in the toolbar. The GUI Builder loads the newly created entity directly. You can find out more information about this in the chapter GUI Builder. |
|
11. |
A default search for the newly created entity must also be created. This is done via the administration console and the node field attributes. You can find further information about this in the chapter Field properties. A field for the generated default search should be activated as Search field. If the search result field option was activated, the field will appear in the search mask as a column. |
|
12. |
With the button you can change to the Mask Configuration node, where you enable the new mask (checkbox in the column Main Mask). The button is only active if a saved entity has been loaded. |
|
13. |
The definition of an additional entity can be saved to an external file or loaded from an external file to use for a transfer to another application. This is done via the two corresponding buttons Import and Export in the toolbar. |
|
14. |
The client must be restarted to save the settings. |
Single fields
These are fields that should only save data from a mask. If the button is pressed, a new field will be created in the field list with the description NewField. Enter a new name for the field in the Field column. Please remember that no spaces or special characters must be used. You can now select the desired file type for the field via a drop-down list in the column File type. Text fields, Number fields, Date fields and Memo fields, as well as fields for logical values are differentiated. The Length column has a size of 255 characters by default. This size can be changed individually when creating a text field. In the Display name column, a different name can be entered for the field. Spaces and special characters may also be used here.
Key fields
Note
The key field should be of type String. The internal logic assumes that the lookup fields are text or number fields. Key fields may not immediately lead to errors, but they are susceptible, because the programming does not assume that this type is saved there.
The dialog to create a key group is opened first when a new key field is created.
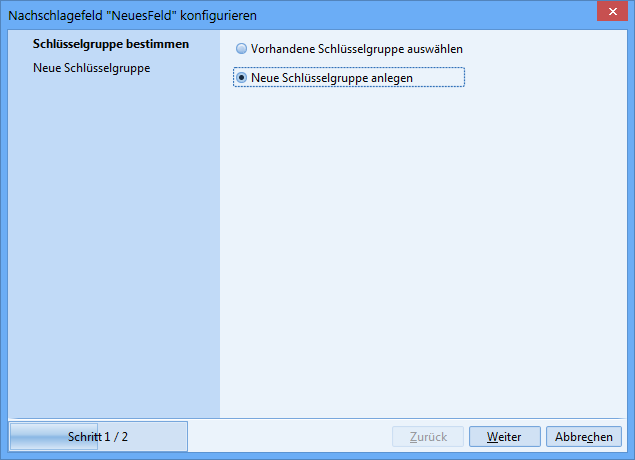
Figure: Key group creation
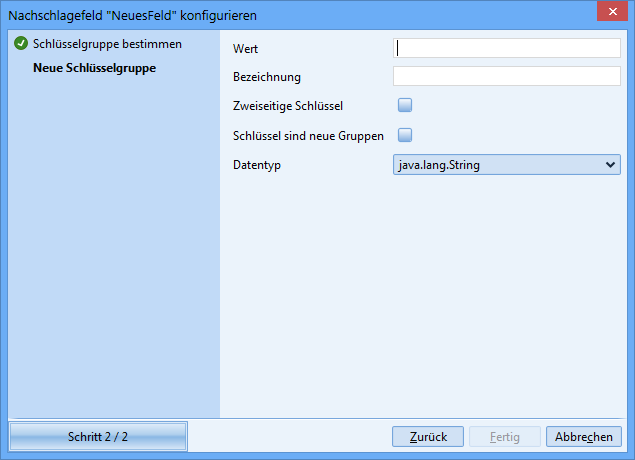
Figure: Key group creation
Give the new key group a name in the Value field and a clear description that can be used to later identify the key for maintenance. The checkbox Double-sided key allows you to define, whether the key is a regular lookup key or a key with a double relation similar to the function Company Parent to Company Affiliate. The checkbox Keys are new groups allows you to determine, whether the key should be a multi-level key with sub groups. All further creation is similar to the creation of single fields.
Lookup fields for other entities
When creating this type of lookup field, you have to select the data field of another entity first, where the lookup will later be done. Two steps are needed for this:
Selecting the database entity:
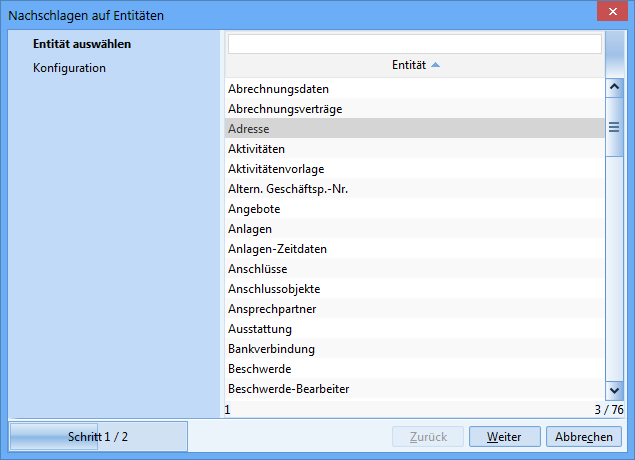
Figure: Lookup field creation - entity selection
A relevant message will appear if there are already some default searches defined in the system for the selected entity (e.g. employee).
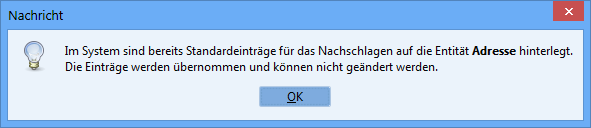
Figure: Lookup field creation - message
If that is the case, then the specified lookup definitions can only be applied as follows:
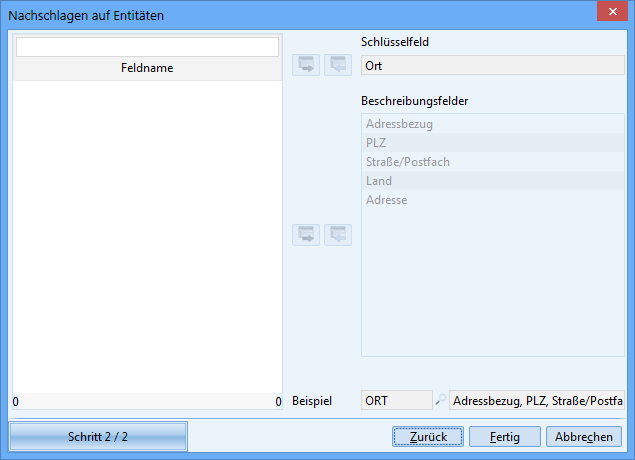
Figure: Lookup field creation - applying existing lookup definitions
The selection dialog will appear to specify the lookup fields if no lookup definitions were previously saved in the system for the selected entity:
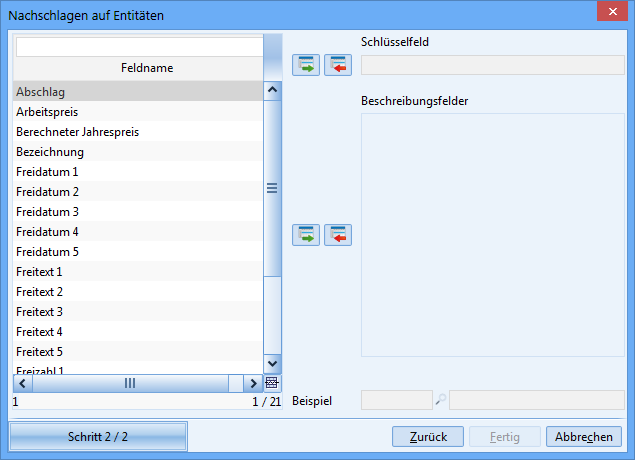
Figure: Lookup field creation - selection of lookup fields
Individual fields can be selected or deselected via the middle buttons Assign and Remove assignment.
Image fields
You can place image fields on the mask using the “Image” field type (RecordableImageSelectionField) in the C2 entities.
Figure: Image field on the mask of a C2 entity
You can define the size and resolution of the image via the field attributes. Place the fields on the mask using the GUI Builder (administration rights are needed). The user can edit these defined fields by clicking the mask.
Deleting a relation and security prompt
When a relation is removed in the EntityCreator, the user will receive a message under the following conditions.
-
The relation is created with a different name when it is clicked again.
-
The relation contains data.
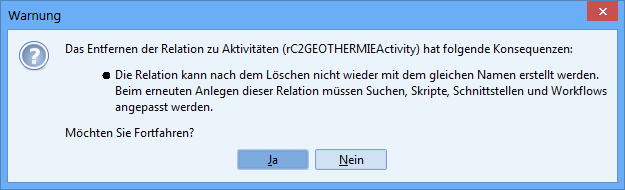
Only one of the two messages may appear, depending on the available data.
CSV import of tables for C2 entities in EntityCreator
If the requirements are implemented, the defined fields must be created manually by the person responsible using the EntityCreator of the administration console. These are often entities that should have a large number of fields, so that a considerable amount of time is required. A CSV template, in which the internal field names, data types of the respective fields, field lengths and display names are maintained, can be used by an export from the Word file and conversion for this. The fields are created via an import in EntityCreator and then saved regularly. In this way, the effort for creating new entities can be reduced.
Furthermore, the internal field names, data types, field lengths and display names can be exported as CSV by the EntityCreator for documentation purposes. An extension of an entity by additional fields is also possible with minimal effort.

Figure: Button for import of a CSV template
A predefined CSV template exists in which the fields to be created can be maintained for the C2 entity to be created. The button is only active on C1 and C2 entities. By clicking the button, the FileBrowser opens for selection, the only permissible import format is .csv. After selection of the file and confirmation of the dialog by the administrator, the file is processed. If the import contains key or lookup fields, a message appears.
Empty field names and empty data types are ignored during import. For empty I18n values, the field name is used. Information such as name, label, shortcut and icon of the entity, main mask and sub area must be entered regularly by the administrator via the EntityCreator. The assigned entities must also be maintained manually by the administrator. The validation of the entries made (field names reserved by the system, length restriction, invalid field names, completeness of entries, duplicate fields) takes place during the storage attempt in the EntityCreator. If the validation is successful, the entity is created including the specified fields. If validation fails, the saving process is aborted.
Entity for buffering data
With the entity cache a generic possibility was created to temporarily store data that requires a lot of time and/or computing power to determine in order to use this data later (e.g. for tiles, scripts). Data is provided with a possibility to be valid for a limited time.
Buffering is also possible from database scripts.
|
Technical field name |
Dept. Field name |
Data type |
Description |
|---|---|---|---|
|
TextValue |
Text value |
Memo field |
|
|
NumberValue |
Double |
Decimal number |
|
|
Id |
Dept. ID |
varchar(255) |
|
|
ExpiresAt |
Valid until |
Datetime |
|
|
DateValue |
Date value |
Datetime |
|
|
BooleanValue |
Yes/No value |
Boolean |
|
General access
-
In principle, the entity can be accessed via the normal BPM possibilities (WorkSpaceScriptUtils ...).
-
The access, especially in tiles, is done via the available options (usually search, if required encapsulation in BPM processes or separate script library methods)
Provision of Util methods
-
The methods described below are to be provided to a ResultStoreUtils Util class and are intended for simplified use for the classic application purposes
-
They are de facto only wrapper methods around the WorkSpaceProxyUtils Util class. It follows that
-
the methods described below can be used wherever the WorkSpaceProxyUtils Util class can be used
-
the normal BPM events are triggered when data in the "cache" entity is changed
-
Definition methods
In the following, the term "Valid" is used according to the technical definition made before.
|
Method |
Description |
|---|---|
|
void ResultStoreUtils.delete(String id) |
Sets the entry with this ID to inactive. If there is no such entry, the method de facto does nothing |
|
void ResultStoreUtils.save(String id, Object value)
|
|
|
Serializable ResultStoreUtils.get(String id) |
|
Provision of a default rule for the deletion run
-
To support the cyclic cleanup of invalid entries, a default rule for the cleansing run is created. The search behind it looks for all entries in the entity "cache", which
-
are inactive or
-
whose "Valid until" date is filled and is in the past.
-
-
The rule is not activated in the delivery standard.