General
In addition to the options for mask configuration on field level via the GUI Builder, the behavior of masks can also be influenced. These adjustments are done via the administration console in the Edit masks / mask configuration.
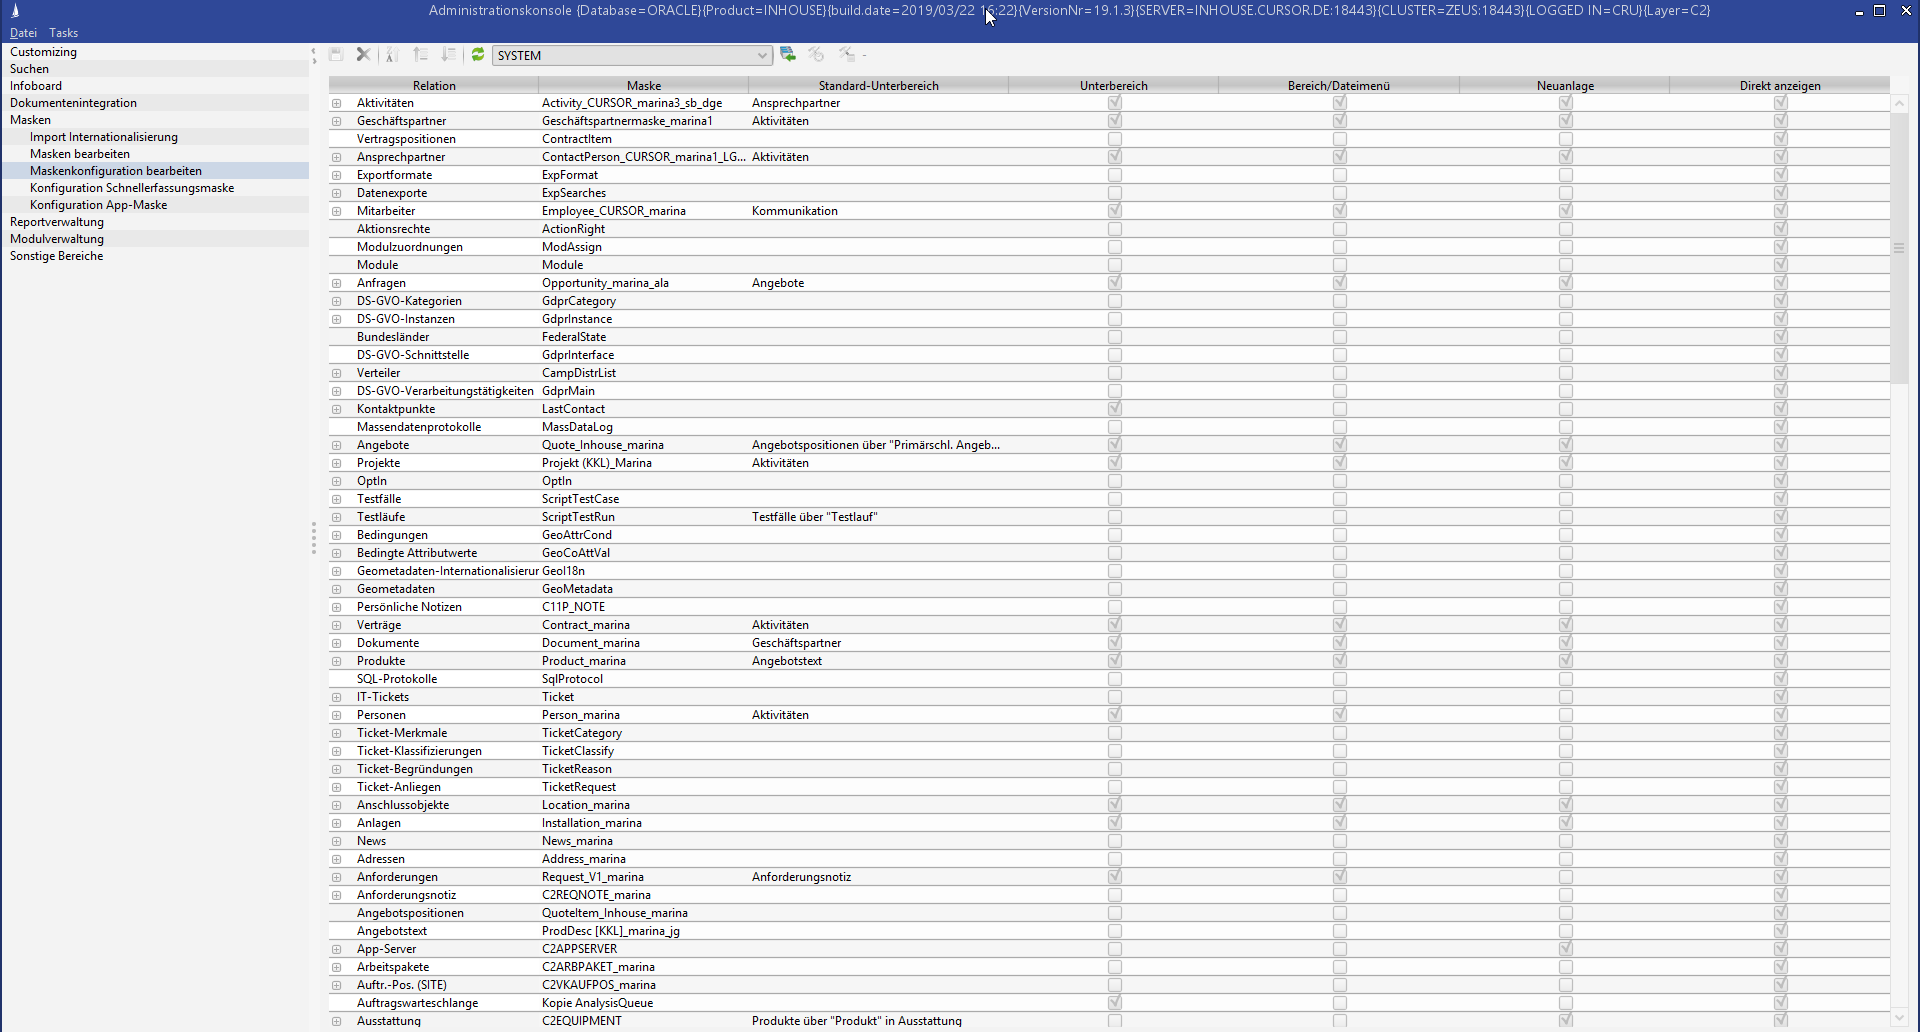
Figure: Node 'Edit mask configuration'
|
Button |
Explanation |
|---|---|
|
|
Saves the setting |
|
|
Deletes a non-standard setting |
|
|
Sorts main mask or entity relation in descending alphabetical order. If the Customizing Transport is activated, the functionality for alphabetically sorting the entities is not available in the mask configuration. |
|
|
Moves the entity relation up/down |
|
|
Resets the changed setting to the last saved configuration |
|
|
Selecting the configuration group |
|
|
This switch can be used to transfer the "applied" mask sequence from the development system to the current system. This means that all sequences in the main and subareas that are not being processed by an open package in the development system are transferred. The changes are immediately visible in the table. It is only possible to transfer the mask sequence if there are no open packages with mask configuration in your own system. |
All masks available in CURSOR-CRM are listed in the overview.
|
Column |
Explanation |
|---|---|
|
Relation |
Which main mask relations are shown in the tree. |
|
Main mask/File menu |
When active, the entity is shown in the File menu |
|
New |
When active, a new creation within the mask is permitted. |
|
Sub area |
When active, the entity is visible in the navigation range 'Entities'. |
|
Default sub area |
This entity is displayed for a main mask in the sub area as standard |
|
Mask |
The selected mask is to be loaded for an entity. |
|
Show direct |
The configuration of the visibility of sub areas is done via this column. It is meant for displaying activated sub areas directly in the tree and in the sub area. This configuration is only active for sub areas. It is deactivated for main areas. |
The relations between entities are visualized as nodes.
Figure: Relation of 2 entities - properties and employees
There is a visual differentiation between the main and sub entities. Main entities are depicted as folder icons + and can be expanded. When a main entity is opened, the related entities are listed with an indent. These are all relations that are possible in this data model.
Checkboxes
In the main node row of a relation, the checkboxes in the column "Sub area" are write-protected. The checkboxes of the entities subordinate to the main node are not write-protected. The column "Main mask/File menu" behaves the opposite way. Here, the checkboxes of the main node are editable, while the subordinate ones are write-protected. Changes to the checkbox of a main node are automatically transferred to the checkbox of the neighboring column Sub area.
The analysis of the checkboxes follows
-
In the Rich Client as before, i.e. the checkboxes of both columns (Sub area and Main mask/File menu) are analyzed
-
In the Web Client, the column "Main mask/File menu" decides, which entities will be visible in the navigation bar. The flags in the column "Sub area" for the visibility of the sub areas are also analyzed in the Web Client.
Adjustment options
Configuring the order of tree entries and tabs in a main mask
-
Select a user group.
-
Select a main entity
OR/AND
Click + to expand the tree entries for a main mask. All tree entries possible at this point will be displayed. -
Activate or deactivate Checkbox in the column Main mask. This will specify whether a relation in the tree should be displayed.
-
Select a sort order by clicking

or

.
-
Save the configuration by clicking Save.
Configuring the file menu
Activate or deactivate the relevant checkbox in the column File menu to control whether an entity will be displayed in the File menu. Save the configuration by clicking Save.
Activate the Create button
A checkbox in the column New creation allows you to decide whether a user should be permitted to create a new dataset in an entity manually or whether the button should be disabled in this area. Save the configuration by clicking Save.
Clicking the Refresh icon allows you to reset the changed settings to the last saved configuration.
A mask configuration that differs from the default for a configuration group is marked in yellow.
To delete a group-specific mask configuration for an entity,
-
select the yellow entity relation and
-
click Delete. The group-specific mask configuration will be deleted and a default configuration will be applied.
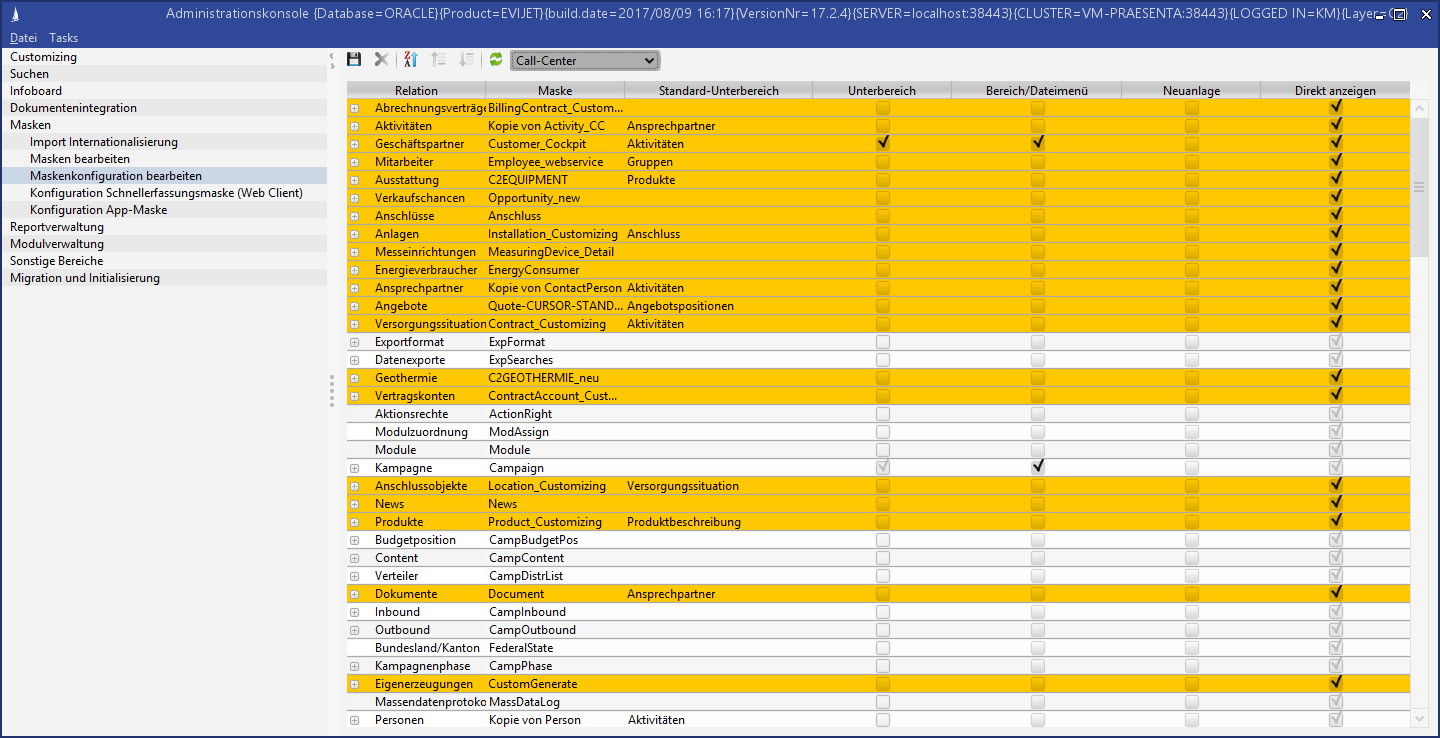
Figure: Other mask configuration for the group 'Call Center'
-
Changes can be made depending on the configuration group. Changes for the group SYSTEM will affect all groups.
-
Deleting changes:
Once you have deleted a mask configuration for a group via the Delete button it will no longer be available for the entity. In that case, the configuration for the group SYSTEM will be applied. There is currently no option to manually recover this configuration. The entire customizing of the version would have to be uploaded again from a backup.