Create reports
-
Clicking the menu Reports/<Group>/<Name der Auswertung>. The search mask is opened in a new tab
-
Fill out the search fields and click the icon

-
Determine the view and the format of the report
To quickly adjust the report parameters, click the parent search in the path, change the report parameters, and click the icon again ![]()
Configuring the format of an evaluation
You can customize the report layout depending on the amount of data and the size of your screen.
If you need the report as a PDF file and you want to print it, proceed as follows:
-
Click on the icon

-
Determine the directory where the PDF file should be saved and confirm with OK. The download process starts.
-
Open the PDF file with a program of your choice (mostly Adobe Reader).
-
If necessary, print the report.
Setting the view of an evaluation
|
|
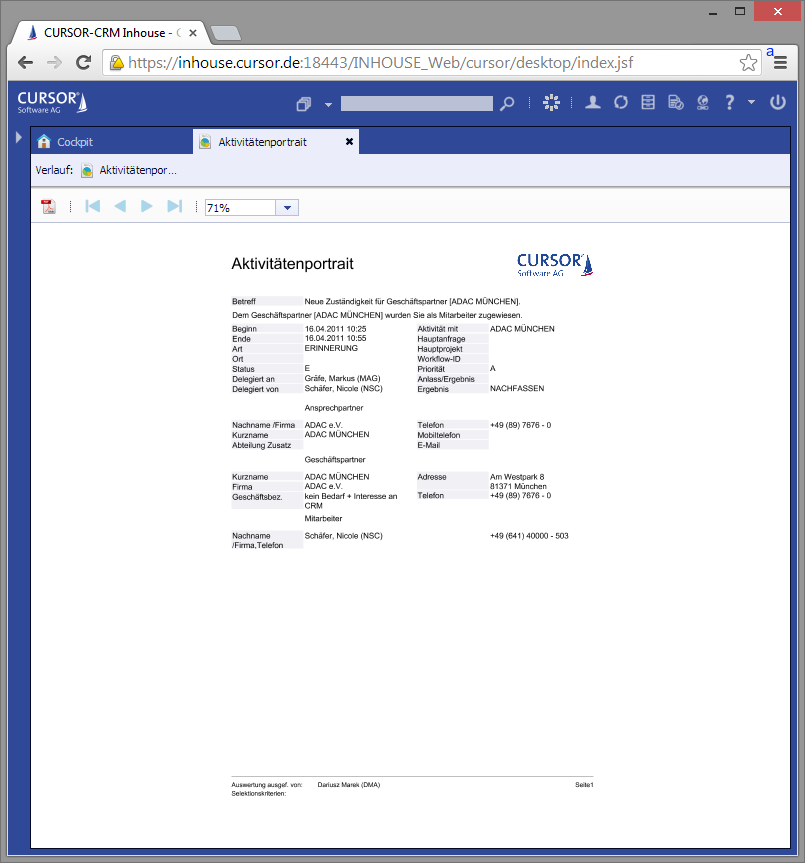
Opens the current report as a PDF file with a default application (mostly with Adobe Reader). The report can be stored on the local computer and can be printed out.
|
|---|---|
|
|
Navigation buttons: Scrolling within the search results in the window.
|
|
|
The link to the report is stored in the myCRM area. |
|
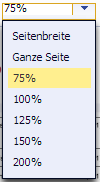
Zoom levels The last defined state is of mask reports is saved per user. The stored Web Client configuration affects the Windows Client (and vice versa) in the case of desktop computers. In the case of touch devices, changes to the zoom level are still not saved. A mask/desktop report is loaded on tablets with option Fit to width. The display of the zoom levels applies to:
When updating versions <13.2, the user-defined zones of all mask and desktop reports are lost because an adaptation of the data structure was necessary. A migration of these settings is not possible.
|
Standard evaluations in lists
From lists, you can generate a default report for the current context.
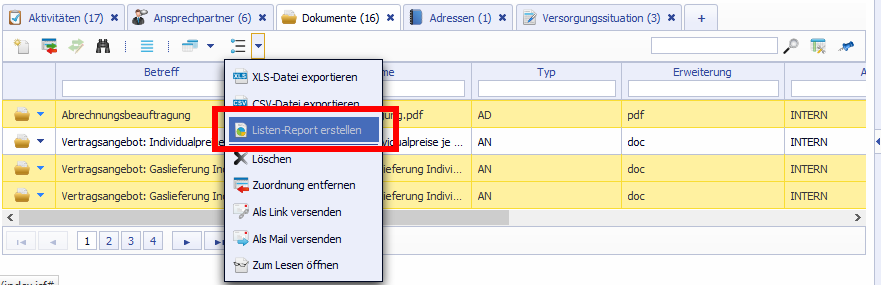
Figure: Creation of a default report in the sub area
The result is presented as a new level. As with other reports, you get a preview first. The report can be downloaded from the preview as a PDF document.
If you have selected datasets for the report, only the selected datasets are taken into account during the report creation.
Reports on masks
Basics
Mask reports are principally on a rear or separate tab for execution, and are only executed if the tab has been entered by the user. Such handling is necessary to avoid unwanted traffic and to save performance.
Manually load reports
If a report was integrated into the mask and not set to 'automatic', it is not loaded directly on the mask. You need to click the button ![]()
When scrolling (button ![]()
![]()
![]()
Automatically load reports
If a report was integrated into the mask and set to automatic, it is loaded directly on the mask and displayed as soon as the tab is clicked. In this case, the start button ![]()
However, errors in the automatic report execution are handled exactly the same as when clicking on the button to manually start a report.

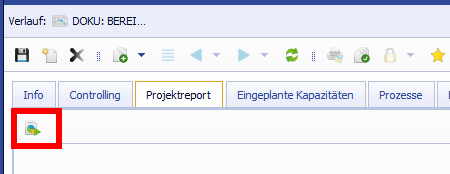
Figure: Report on a mask
-
Window width
-
Status display:

The zoom factor is automatically calculated so that the report uses the page optimally. In this mode, the manual selection of the zoom level is not possible. To manually set the zoom level, you must turn off automatic scale. -
Status display:

-
-
By clicking on

-
By clicking on
The display of reports requires space on the mask. In order to display the report as best as possible, hide the sub data area by clicking 
Error messages
Error message: Report does not exist
If a report does not exist (e.g. typo in the report name), an error message (Report <...> is not available) is displayed.
Error message: No data found
If a report does not provide any data, you receive a notification message (Report <...> does not contain any data).
General error
General errors are displayed as a dialog (The execution of the report failed.).
Reports in the main mask of activities
In the main mask of activities, a click on the printer button ![]()
Configuring report properties
The report properties are required to give a report external values that it cannot obtain from the database at runtime. No different reports have to be created now. The configured properties apply to both clients.
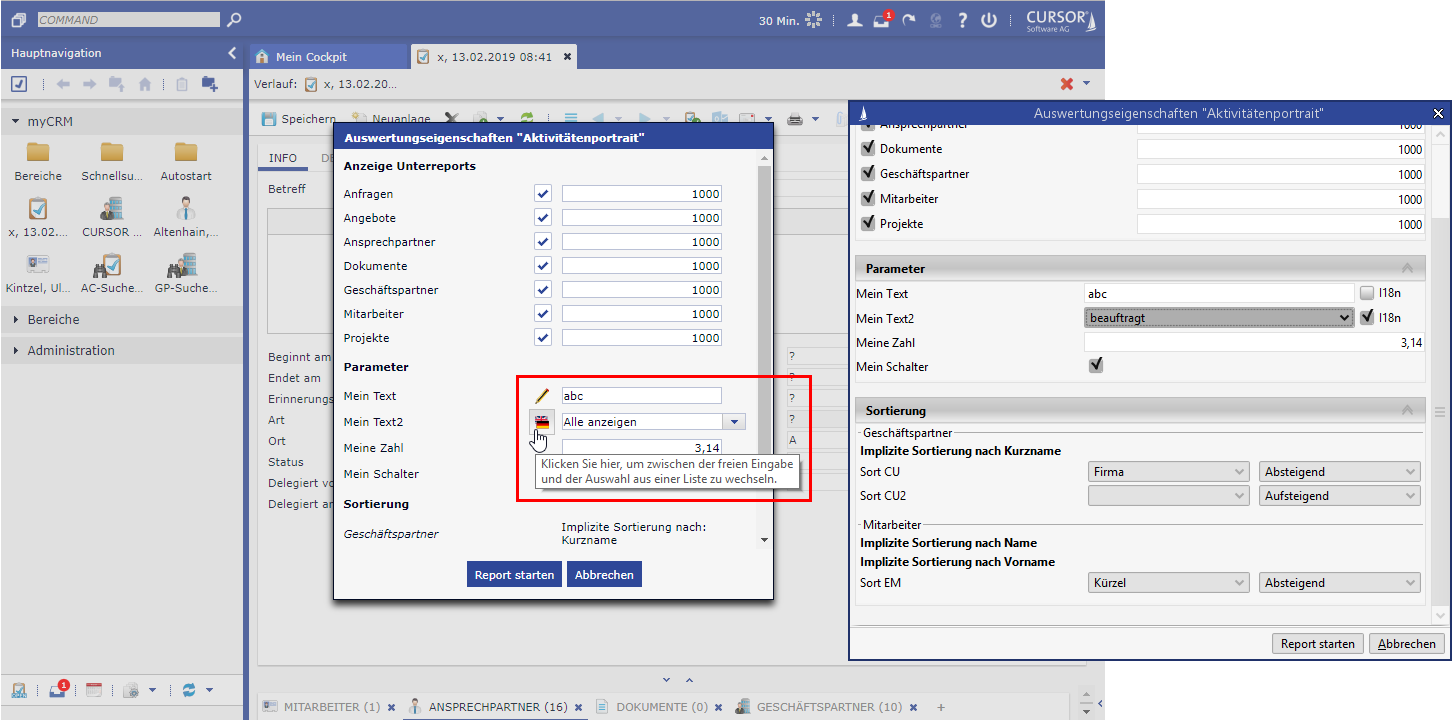
Figure: Comparison of evaluation properties in the clients (Windows Client – right)
The logic of the report properties dialogs was transferred directly from the Windows Client (see image) to the Web Client.
The tooltip on the fields in the "Display subreports" area now displays the actual maximum number in both clients and no longer the fixed "10000". If an incorrect entry is made, the value is discarded and a notification is displayed. The toggle button for text fields in the "Parameters" area allows to switch between free input and selection from a list. The button is explained by a tooltip.
The button is not available with HELVIS.
The content of the list in both clients now only contain the selectable values in alphabetical order (no more keys, no values with placeholders "{0}"). The implicit sorting is displayed cleared in the "Sorting" area. The sort order is also controlled by a toggle button with tooltip. The dialog can also be opened via the evaluation dialog.