Infoboards
-
configurable tiles on the dashboard
-
Management
-
Setup

Introduction
Infoboards are visualized information that you can place and organize in the application in the form of interactive tiles.
The following terms and definitions are used for the description:
-
a tile is an interactive information element in the form of a square
-
a board is a panel with several tiles
-
a multi-board is a group of several boards that can be switched between
In CURSOR-CRM, the following types of infoboards and tiles are used:
-
Desktop tiles
-
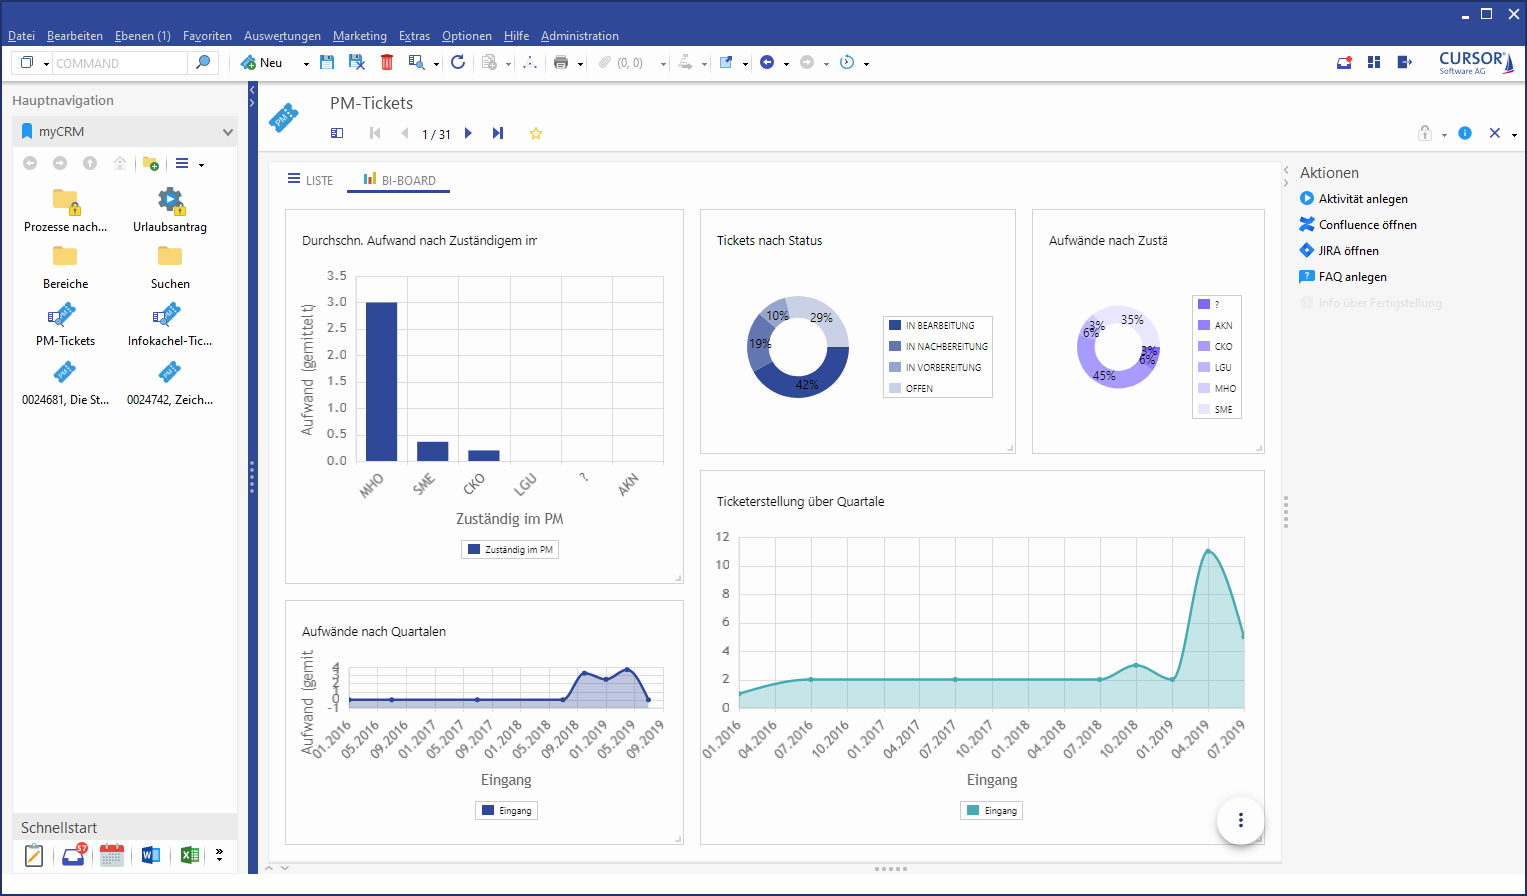
BI boards
-
Entity tiles
-
Sub area boards
Ordinary users do not need any programming knowledge to use the tiles and boards. You can compile and configure the content in an intuitive way. Of course, CURSOR-CRM also offers a multi-level security concept for the display of information in the tiles. For better productivity, the tiles and boards can be grouped and assigned to specific user groups according to appropriate rights. Administrators with programming skills cannot only customize provided tiles and boards, but also create their own.
The information in the tiles is provided by stored searches and is constantly updated. Displayed data is interactive. With a click on a tile element you can directly open e.g. a dataset, a list or a process mask.
Desktop tiles
Desktop tiles are placed on the cockpit – 'the entry page’ – of the application. Here, the system-wide datasets are aggregated and presented graphically by means of charts, lists, tables, indicators and other elements.

The file upload via drag and drop on the desktop has been changed so that you now drop the file on the system logo or the COMMAND field.
BI boards
BI boards apply data science methods to enterprise data to support decision making.
With CURSOR-CRM you can exploit the potential of BI boards:
-
quickly find relevant, up-to-date and consistent information
-
factual and problem-oriented access
-
easy aggregation or disaggregation according to different criteria
-
extensive forms of presentation of the results
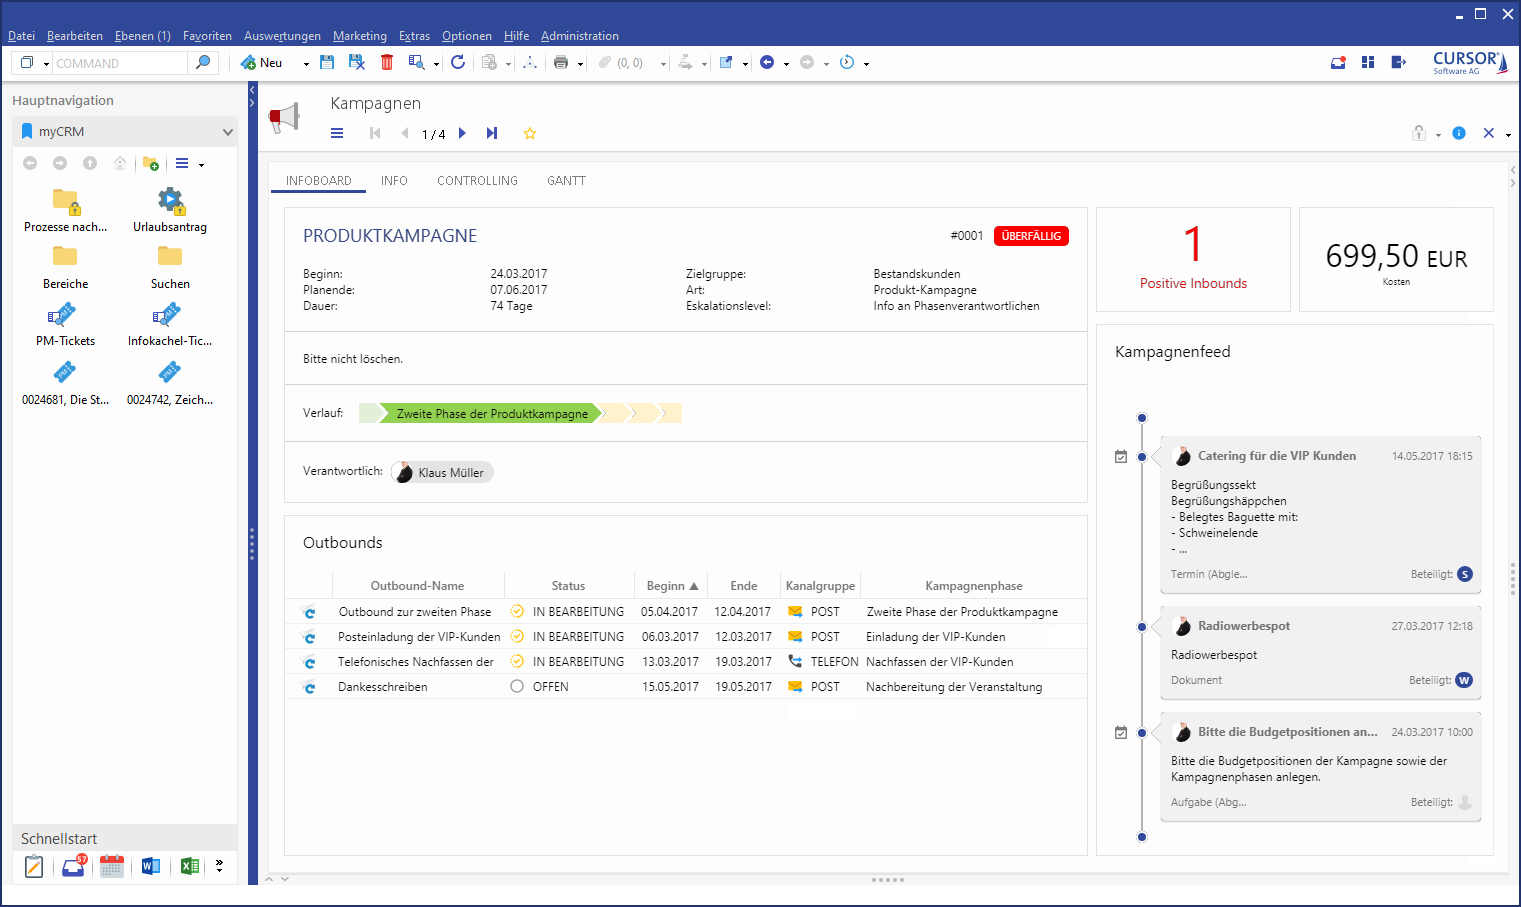
Entity tiles
Entity boards are embedded UI elements on entity masks that are entitity-related and used as functional record extensions (e.g. progress bar or comments).
Sub area boards
Sub area boards are mostly used to display dependent data without having to open them explicitly. The activity and document preview is used to display the contents of a listed file in a tile.
Technical basics
Web framework
To ensure maintainability and customization of the infoboards, a web framework "React" was implemented.
React is a JavaScript software library that provides a basic framework for generating user interface components of web pages. Components are built hierarchically in React and can be represented in its syntax as self-defined HTML tags. The React model promises simple, but still performant construction of even complex applications through the concepts of unidirectional data flow and the "Virtual DOM".
Permission system
For infoboards, rights-based actions have been introduced, which must be configured accordingly for the users. This ultimately results in the following 5 permission levels (additive from top to bottom):
|
Permission level |
Action affected by rights |
Description |
|---|---|---|
|
READ_ONLY |
none |
|
|
USE_EXISTING |
"Using Predefined Tile Configurations." (infoboard.use.existing.configuration.permission)
|
|
|
EDIT_OWN |
"Create Own Tile Configurations" (infoboard.edit.own.configuration.permission) |
|
|
ADMIN |
"Edit Tiles and Boards" (admin.infoboard.permission) |
|
|
ADMIN CONFIGURATION |
"Create System Tile Configurations" (infoboard.admin.configuration.permission) |
|
Configuring infoboards
Menu
Configuring infoboards is possible via the board menu.
-
Click the


Overview of menu actions
|
Action |
User mode |
Administrator mode |
|---|---|---|
|
Close menu |
|

|
|
Open menu |
|

|
|
Board Management |

|

|
|
Tile Management |

|

|
|
switch to Admin mode |
|
|
|
switch to User mode |
|

|
|
Tile variants configurator |
|

|
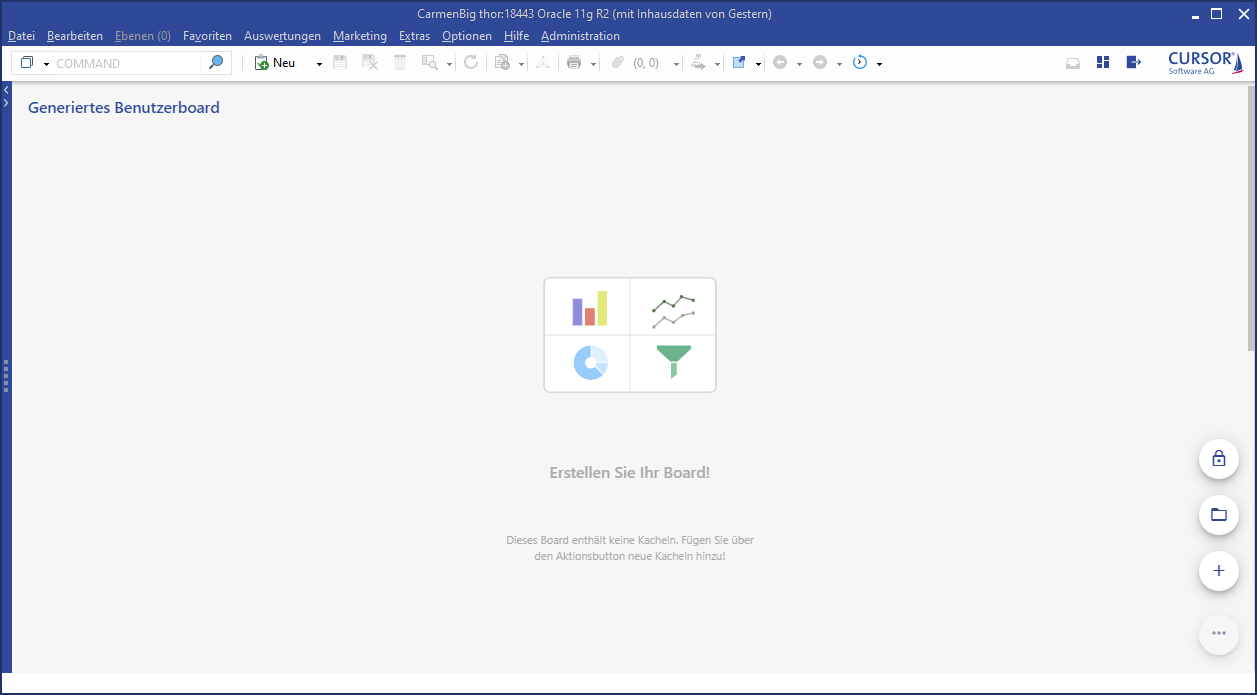
Figure: Administrator view
Board hierarchy and organization
An administrator can organize a board hierarchy that is handled in the system by logics. The user can in turn create his own boards and load provided boards according to his/her own preferences.
There are the following hierarchy levels:
-

User boards
Any user can create these boards. They are easy to recognize by the user icon. -

System boards
Administrators can create these boards. They are easy to recognize by the lock symbol.
In addition, boards can be marked as 'default boards' with a star. As a result, a board is automatically loaded as soon as the application is started. The default boards are checked and displayed in the following order:
-

User boards (blue star)
-

Group boards (green star)
-

System boards (red star)
Logically, only one board from each hierarchy group may be marked as the default board. If there is no default user board, the default group board is loaded. If there is no default group board, the system accesses the default system board. If there is no default system board, an empty generated user board is opened.
Since individual boards can be bundled into groups, you can tell by the symbol whether they are individual or multi-boards:
-

Single board
-

Multi-board
In principle, the boards are created in the C2 layer. However, some boards may be shipped in the C2 layer if their functions must rely on deeper application layers (C1). These are also marked graphically.

Survey cockpit board created in the C1 layer
Summary
This interaction of the attributes results in an exemplary representation, which is to be understood as follows:
-

A system multi-board (blue lock) marked as default group board for the group 'Product Management' (green star)
Load existing boards
If you start working with infoboards, there are already numerous tiles and boards available to each user in the administration. Under certain circumstances, the initially opened user board may not contain any tiles (generated user board). The new user board was generated automatically and is empty.
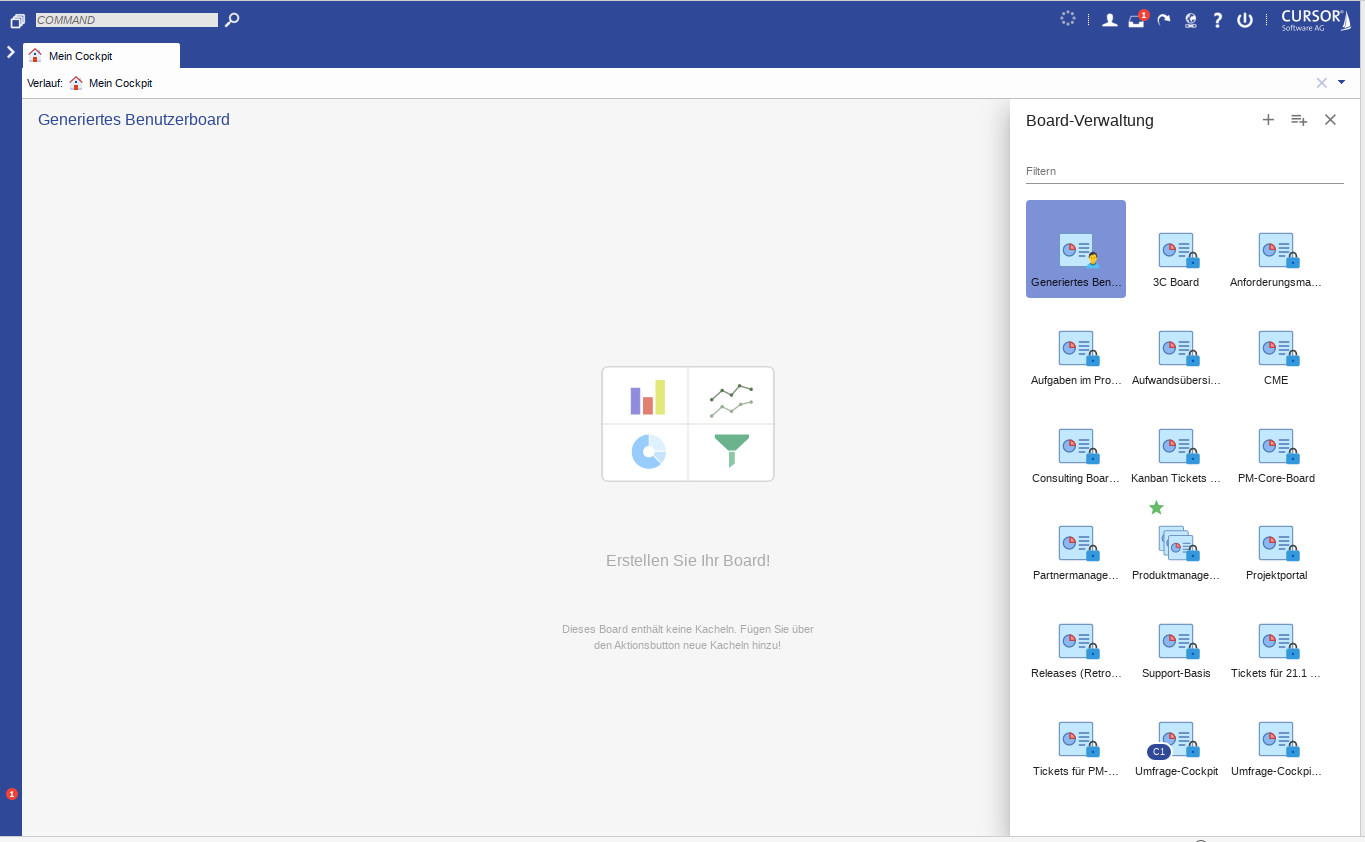
Figure: Generated user board
To load an existing board:
-
Open the folder with a click on
-
Select Board Management
Available boards are now displayed.
-
Click on the icon of the board you want to load. The board is loading.
-
Click
to exit the board management.
For many boards, use the filter function to refine the view.
Stacked layout for tiles
The stacked layout is a single-column layout that is displayed on a smartphone, especially with the CURSOR app.
A layout management was implemented for this purpose:
-
Migration of existing boards and tiles
-
The heights of tiles from the infoboard in the normal layout are also transferred to the stacked layout. If changes have already been made specifically for the stacked layout, these changes will be lost.
-
-
Modifications of existing boards and tiles
-
If the height of tiles is increased/decreased in the normal layout of the infoboard, this also has an effect in the stacked layout
-
If there are changes in the stacked layout, the size changes from the normal layout are no longer transferred to the stacked layout. From this point on, the stacked layout has been detached from the normal board.
-
-
Layout management and stacked layout
-
There is now a new button "Layout Management" in the infoboard menu. After activation, buttons appear in the upper right corner to switch between the normal (multi-column) layout and the stacked (single-column) layout
-
The stacked layout is limited to a width of 800 pixels.
-
You can switch between several boards and the selected mode remains.
-
There is also a possibility to switch to the layout mode in the administration mode. This gives the administrator the possibility to optimize infoboards and tiles for the stacked layout.
-
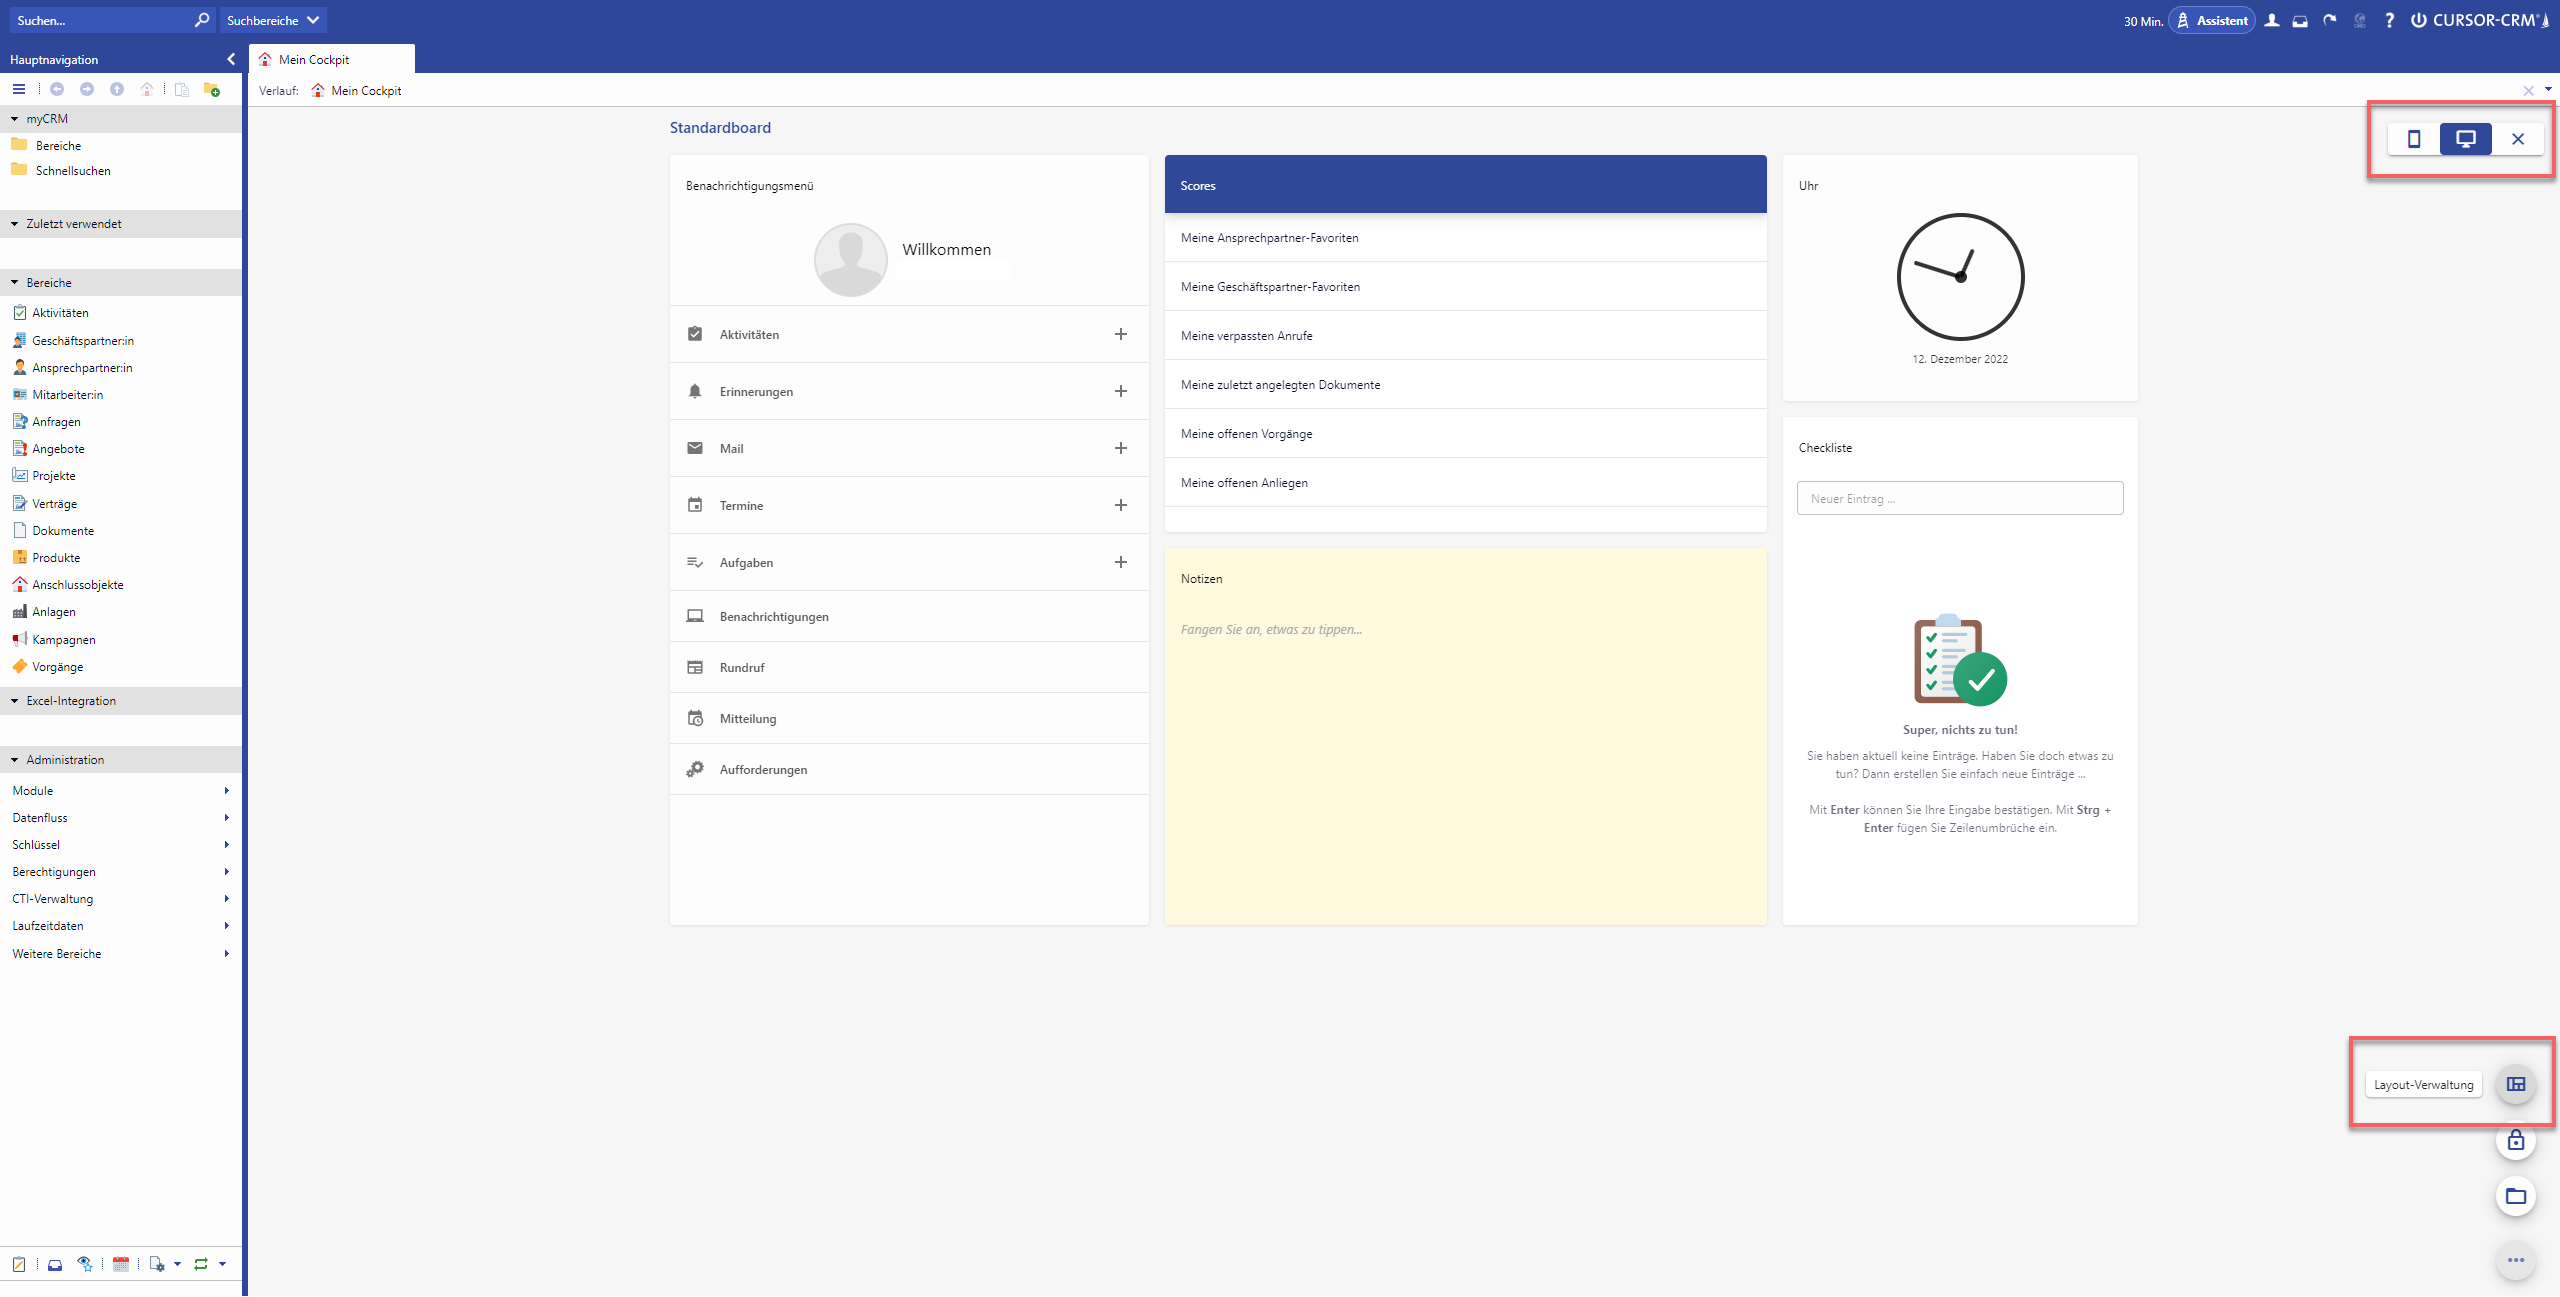
Figure: Tile layout before optimization
Unknown Attachment
Figure: Tile layout after optimization